Author Topic: 74BlueFish starting reassembly  (Read 7022 times)

Offline 74BlueFish

  • Jr. Member
  • **
  • Posts: 335
74BlueFish starting reassembly
« on: September 01, 2014 - 01:49:36 PM »
 :ylsuper:  Finally after 3 years of rust, welding, and body work I can start the reassembly.  I'm doing a driver quality resto, with all work done myself.  This morning I sprayed white basecoat to cover the gray primer, yellow basecoat as final color and 2 coats of clear.  Got a few blemishes and a small run or two.   Hopefully not too much dirt or dust.  I'll check up on it in a few hours after the clear has gone tack free.
I'll lightly sand it tomorrow and put on 2 more coats of clear, and hope it will look good from a few feet.
Feels great to be almost past this milestone :jumping:
2 K primer in the garage.


White basecoat    but hard to see in the pics


Yellow basecoat


Clear coat with lights and fan off, hope I don't get too much dust to settle in it.


Dan


Offline blown motor

  • Resident
  • *****
  • Posts: 3013
Re: 74BlueFish starting reassembly
« Reply #1 on: September 01, 2014 - 04:07:17 PM »
I'm not sure I would want to tackle that myself but I have a lot of respect for those that do. It muist fgeel very rewarding.Good luck with the reassembly.
In search of the eternal buzz!

Offline dutch

  • Sr. Resident
  • ******
  • Posts: 6944
Re: 74BlueFish starting reassembly
« Reply #2 on: September 01, 2014 - 04:52:20 PM »
gotta love that smell of fresh paint  :cheers:
*** Bart ***

Offline Edison1970

  • Jr. Member
  • **
  • Posts: 489
Re: 74BlueFish starting reassembly
« Reply #3 on: September 01, 2014 - 04:59:48 PM »
That looks great.  I wish I had that much room in my garage.

Offline Bigfury

  • Jr. Member
  • **
  • Posts: 42
  • I love YaBB 1G - SP1!
Re: 74BlueFish starting reassembly
« Reply #4 on: March 05, 2015 - 02:42:40 PM »
How do you decide on where to start? And in what order is the reassembly?? :dunno: Just getting a '73 ready to paint. It's striped as naked as your's.

Offline daaboots

  • Jr. Member
  • **
  • Posts: 195
Re: 74BlueFish starting reassembly
« Reply #5 on: March 05, 2015 - 03:50:20 PM »
Great job doing it yourself!

Offline anlauto

  • Permanent Resident
  • *******
  • Posts: 12328
  • I'm Alan G...I'm a Mopar Addict
    • Alan Gallant Automotive Restoration
Re: 74BlueFish starting reassembly
« Reply #6 on: March 05, 2015 - 04:11:39 PM »
Any updates 74BlueFish ?
I've taught you everything you know.....but I haven't taught you everything I know !
www.alangallantautomotiverestoration.com

Offline 74BlueFish

  • Jr. Member
  • **
  • Posts: 335
Re: 74BlueFish starting reassembly
« Reply #7 on: April 05, 2015 - 12:49:40 PM »
I have know clue where to start,  just use the forum as a guide.  Been trying to get the engine in and have not done any interior stuff,

anlaudo,   Little more progress.    Not as nice as the stuff you do.  trying to make it a reliable driver

Got the engine assembled in Dec. and making brackets


EFI with coil near plug.  This is the trigger wheel


Wheel welded to pulley


Streetwin clutch installed


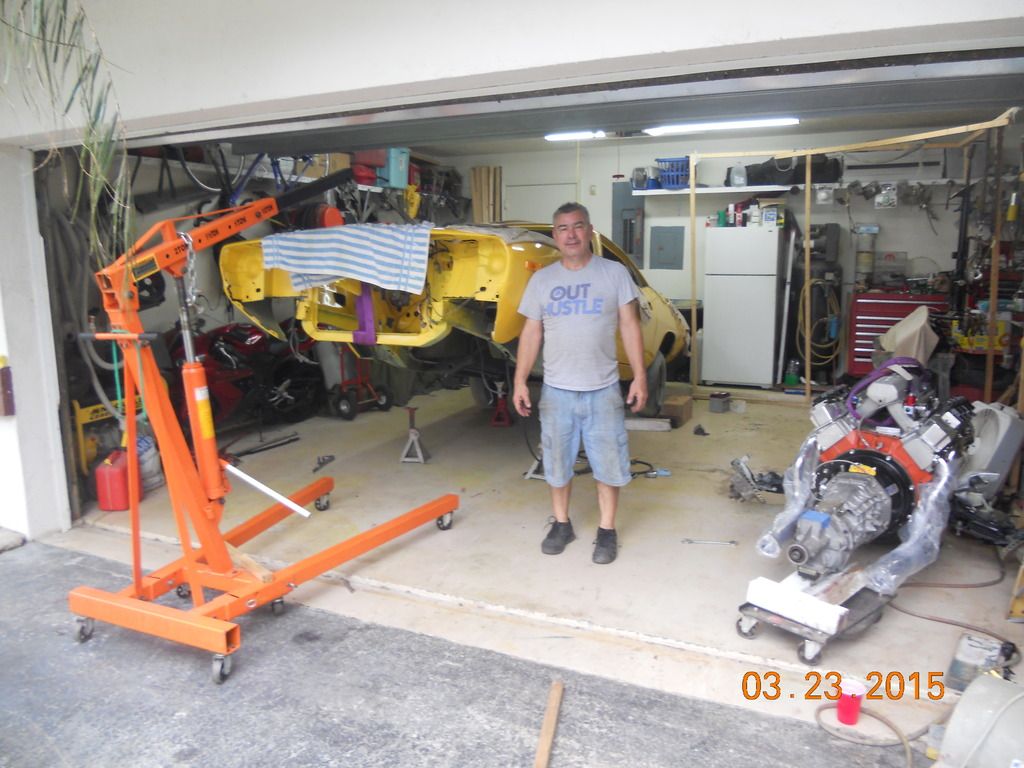
My son helping me install the engine
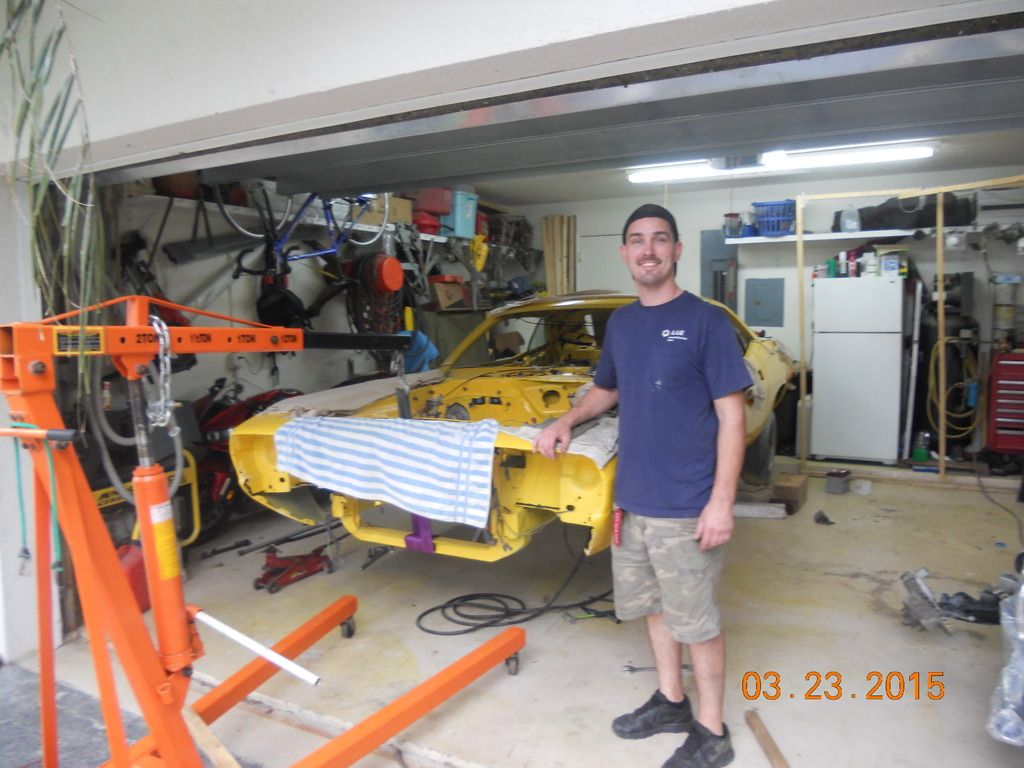

Me with eng/tranny attached and car in wheelie mode


Made a block off plate on the CNC mill I have at my school I work at


Installing a voltmeter and tach


Installed a speedo too I'm not the happiest with that but I wanted a small gauge so the turn signals would still be visible,  Wasn't sure if a 5 inch would fit


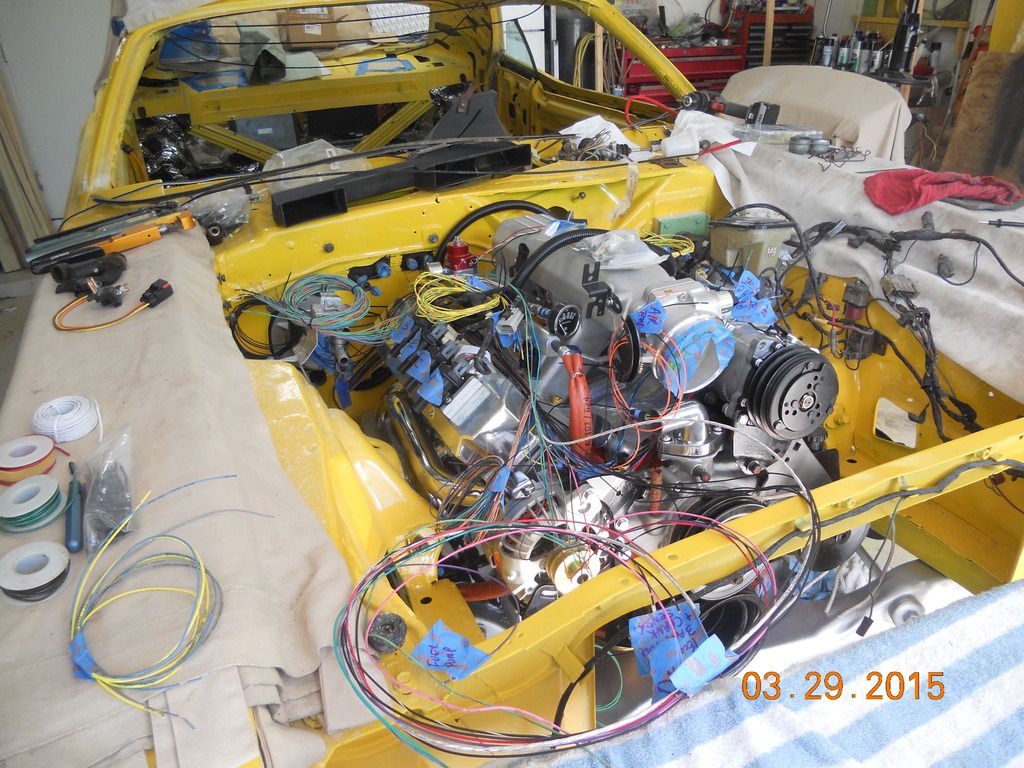
Engine in car and started wiring the megasquirt   :droolingbounce:


I still don't know if it will clear the hood,  will cross that bridge later.
Dan

Offline loco340cuda

  • Full Member
  • ***
  • Posts: 819
Re: 74BlueFish starting reassembly
« Reply #8 on: April 05, 2015 - 02:36:16 PM »
I'm not sure I would want to tackle that myself but I have a lot of respect for those that do. It must feel very rewarding.Good luck with the reassembly.

ditto to what blown motor said
« Last Edit: April 05, 2015 - 02:38:37 PM by loco340cuda »
1970 Cuda 340 4-speed - now stroked to 416ci (SOLD)
2017 Mustang Shelby GT350

Offline YellowThumper

  • Sr. Member
  • ****
  • Posts: 1633
  • I left the snow for this?
Re: 74BlueFish starting reassembly
« Reply #9 on: April 06, 2015 - 06:38:09 PM »
Nice to see color. I am a bit partial to yellow myself.
Do you have any info on what you are using for the cam trigger? Looks similar to a f0rd unit.
I also will be converting to MS soon along with the Ls coils. My cam trigger is last piece of the mechanical puzzle to go.

As for an assembly direction I would just start with the first bolt and go from there. :roflsmiley:.

Mike.
« Last Edit: April 06, 2015 - 06:42:01 PM by YellowThumper »
Removing the warning labels one at a time.
Nature will take care of the rest.

Offline 74BlueFish

  • Jr. Member
  • **
  • Posts: 335
Re: 74BlueFish starting reassembly
« Reply #10 on: April 06, 2015 - 07:44:21 PM »
cam trigger is from a Jeep 2004 Cherokee.   I found a spacer that lets it fit the stock dist hole.  There a guy thats converted a 68 charger I believe and I am coping him.  I'll look up the info.  I have MS-3 megasquirt.
 Dan
Dan

Offline tony 73

  • Jr. Member
  • **
  • Posts: 324
Re: 74BlueFish starting reassembly
« Reply #11 on: April 06, 2015 - 09:58:50 PM »
I love the color, great effort doing it yourself. Looking forward to the build.

Offline 74BlueFish

  • Jr. Member
  • **
  • Posts: 335
Re: 74BlueFish starting reassembly
« Reply #12 on: August 11, 2015 - 09:43:28 AM »
 I started the engine last week and posted a video of it under engines.  Yesterday I installed the ralley hood and it cleared the Edelbrock pro FLO XT  and throttle body with 1.25 inches.  picture below of silly putty to show clearance.

Dan

Offline daaboots

  • Jr. Member
  • **
  • Posts: 195
Re: 74BlueFish starting reassembly
« Reply #13 on: August 25, 2015 - 04:25:06 PM »
Great work on the engine! Please share as much information about the megasquirt as you can. That's the route I want to take whenever I get around to rebuilding my 440.

Offline 70chall440

  • Sr. Resident
  • ******
  • Posts: 6484
Re: 74BlueFish starting reassembly
« Reply #14 on: August 28, 2015 - 11:51:04 AM »
Great work, obviously you figured out how to proceed.

for those who asked the question, you can start in a variety of means, however you need to think about if you install something what affect it will have on being able to install other components; I.e if you install the engine before you install the steering box you will have to fish the box into the K frame. Not that it can't be done but it is much easier to do with the engine out. Fortunately you can work around most things so instead of being paralyzed by indecision, jump in and start installing what is ready (highly recommend some basic thought in how it all goes together). Unless you are a pro and have done these repeatedly; there will be some install and removal and reinstall action going on. Think of it as mock up...  :bigsmile:
Current Mopar
70 Challenger RT 440-6 EFI, 73 Cuda 416-6 EFI
05 Hemi Durango, 01 Ram 4x4, 14 Ram 2500 4X4, 10 PCP Challenger 6 spd RT, 01 Viper GTS ACR, 52 B3B w/330 Desoto Hemi, 70 Hemi RR (under const)
Past Mopars
9 x Challengers. AAR Cuda, 4 RR, 2 GTX, 4 Chargers, etc... (too many to list)