Author Topic: 73 Challenger restomod  (Read 78762 times)

Offline js29no

  • Sr. Member
  • ****
  • Posts: 1670
Re: 73 Challenger restomod
« Reply #195 on: June 14, 2016 - 03:44:49 PM »


Offline lulurocks

  • Jr. Member
  • **
  • Posts: 328
Re: 73 Challenger restomod
« Reply #196 on: June 14, 2016 - 05:50:03 PM »
so wish I spent the cash on upgrading the gauges ...  :pullinghair:


They look sweet ....

You'll be terrorizing the streets on jersey soon... So jelious.  I'll be the fat guy waving as you pass by...

Offline YellowThumper

  • Sr. Member
  • ****
  • Posts: 1633
  • I left the snow for this?
Re: 73 Challenger restomod
« Reply #197 on: June 15, 2016 - 12:51:01 AM »
 :iagree: X2
Removing the warning labels one at a time.
Nature will take care of the rest.

Offline Challenger in NC

  • Full Member
  • ***
  • Posts: 653
Re: 73 Challenger restomod
« Reply #198 on: June 15, 2016 - 12:37:27 PM »
The 3D printed gauge surrounds came out nice.

Offline dave73chally

  • Sr. Member
  • ****
  • Posts: 1304
Re: 73 Challenger restomod
« Reply #199 on: June 17, 2016 - 07:01:32 AM »
I posted this in electrical also but figure it can't hurt here either. Getting ready to wire the gauges, drew a diagram but not 100% confident I have it down right. Anyone see issues with this?

After speaking with lulurocks, here is the UPDATED diagram:
« Last Edit: June 20, 2016 - 08:48:46 AM by dave73chally »
73 Challenger
512 / 4spd / Hotchkis & QA1 Suspension

Offline redo1973

  • Full Member
  • ***
  • Posts: 549
Re: 73 Challenger restomod
« Reply #200 on: June 19, 2016 - 08:47:36 PM »
Sweet.  This looks great.  I was just about to send out my cluster for rebuild but will now explore this option and cost. 

Offline Mickm

  • Jr. Member
  • **
  • Posts: 257
Re: 73 Challenger restomod
« Reply #201 on: June 19, 2016 - 09:06:40 PM »
David,
Just sent you an pm to see how the gauge pods came out. They look awesome!!!!
I am about to start wiring my gauges tomorrow but need to call Speedhut as I am using an American Wire Harness and have some questions.
Are you using an after market wiring harness?
Cheers!
Mickm
MickM

Offline dave73chally

  • Sr. Member
  • ****
  • Posts: 1304
Re: 73 Challenger restomod
« Reply #202 on: June 19, 2016 - 10:14:54 PM »
David,
Just sent you an pm to see how the gauge pods came out. They look awesome!!!!
I am about to start wiring my gauges tomorrow but need to call Speedhut as I am using an American Wire Harness and have some questions.
Are you using an after market wiring harness?
Cheers!
Mickm

Yea they came out awesome! Can't thank you enough  :worshippy

I'm using a factory harness. I updated the diagram above. Is that similar to how you wired in your gauges?
« Last Edit: June 20, 2016 - 08:49:17 AM by dave73chally »
73 Challenger
512 / 4spd / Hotchkis & QA1 Suspension

Offline Mickm

  • Jr. Member
  • **
  • Posts: 257
Re: 73 Challenger restomod
« Reply #203 on: June 20, 2016 - 12:45:44 PM »
David,
I haven't started wiring in my gauges yet. I am rewiring entire car with an American Autowire kit.
I have everything in place but AAW says to contact aftermarket gauge mfg.er to ask about wiring gauges.
I'll report back my findInga once I talk to them.
Cheers
Mickm
MickM

Offline dave73chally

  • Sr. Member
  • ****
  • Posts: 1304
Re: 73 Challenger restomod
« Reply #204 on: July 19, 2016 - 09:45:47 PM »
Been slowly progressing, started on my exhaust. I want to run cutouts so I began laying it out:


With it mocked up to the headers as is, the cutouts are right at the tranny brace and way too low. I'm going to try and fit them up and in before the brace. If that doesn't work, they'll have to be after.

« Last Edit: July 19, 2016 - 10:28:49 PM by dave73chally »
73 Challenger
512 / 4spd / Hotchkis & QA1 Suspension

Offline dave73chally

  • Sr. Member
  • ****
  • Posts: 1304
Re: 73 Challenger restomod
« Reply #205 on: July 21, 2016 - 08:01:34 AM »
Extended the pipe after the collectors and the cutouts sit right after the trans brace. They are tucked in there pretty good, hang about 1.5" below the trans brace at the lowest point. The e-brake cable is close, anyone mount the cable S hook in a different location to raise the cable tighter to the floor? I'm concerned about rubbing while driving.


73 Challenger
512 / 4spd / Hotchkis & QA1 Suspension

Offline twalker

  • Full Member
  • ***
  • Posts: 810
Re: 73 Challenger restomod
« Reply #206 on: July 31, 2016 - 07:03:28 PM »
Might have missed it earlier in the thread, TTI exhaust?


Sent from my iPad using Tapatalk

Offline dave73chally

  • Sr. Member
  • ****
  • Posts: 1304
Re: 73 Challenger restomod
« Reply #207 on: August 08, 2016 - 09:16:52 AM »
Might have missed it earlier in the thread, TTI exhaust?


Sent from my iPad using Tapatalk

The picture above was a cheap universal kit from jegs. I wasn't thrilled with it so I scrapped it and a TTI x pipe is being delivered today. Planning on running the cutout y pipe after x and exiting out the side.
73 Challenger
512 / 4spd / Hotchkis & QA1 Suspension

Offline twalker

  • Full Member
  • ***
  • Posts: 810
Re: 73 Challenger restomod
« Reply #208 on: August 08, 2016 - 09:21:11 AM »
The picture above was a cheap universal kit from jegs. I wasn't thrilled with it so I scrapped it and a TTI x pipe is being delivered today. Planning on running the cutout y pipe after x and exiting out the side.

Cool, I'll follow the thread.  I just bought and installing TTI 3inch x pipe header to tip.


Sent from my iPhone using Tapatalk

Offline dave73chally

  • Sr. Member
  • ****
  • Posts: 1304
Re: 73 Challenger restomod
« Reply #209 on: August 08, 2016 - 09:30:43 AM »
Here's a bunch of updates:

- Gauge wiring diagram worked well. I had some poor connections due to crappy wire taps that gave me some grief. I scrapped the taps and went with male/female connectors and all is well. I'll take some pictures of the gauges lit up, they look sweet!

Only issue I can't resolve is my volt gauge is always reading 12v. When I turn the key it resets and goes to 12v but then when I turn the key off it stays there. If I disconnect the battery, it stays there. I'm going to call speedhut as I can't think of anything other than the gauge being faulty?

- Picked up my passon 4 speed and installed. Jamie is awesome to deal with. It's a little hard to shift so I'll have to tweak a few things but most likely due to how I setup the rods and all.
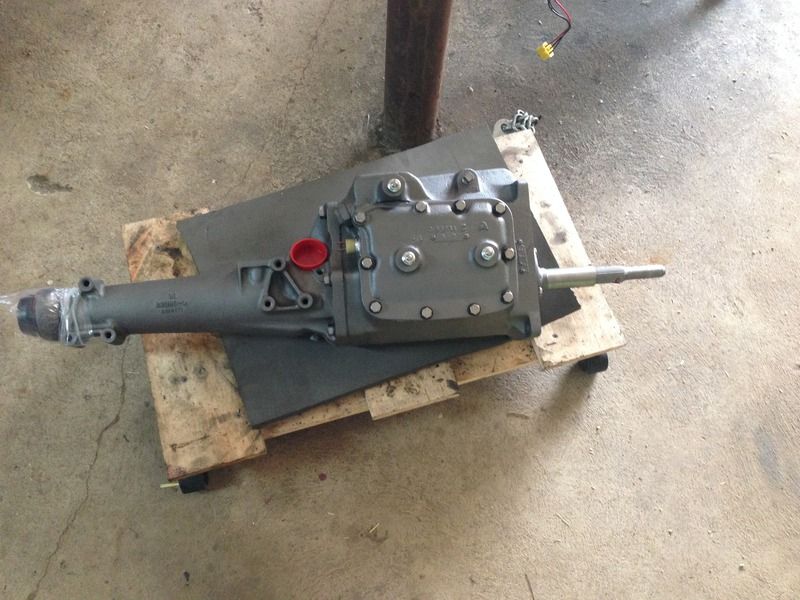
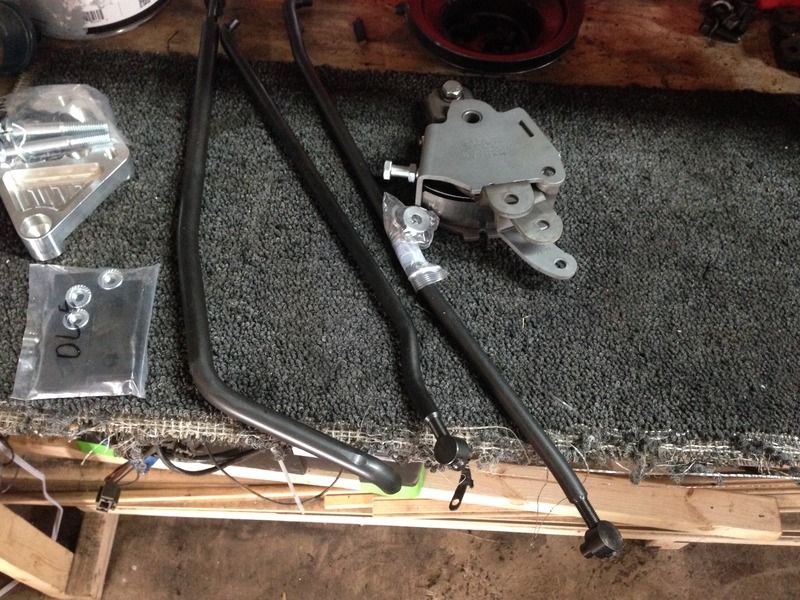
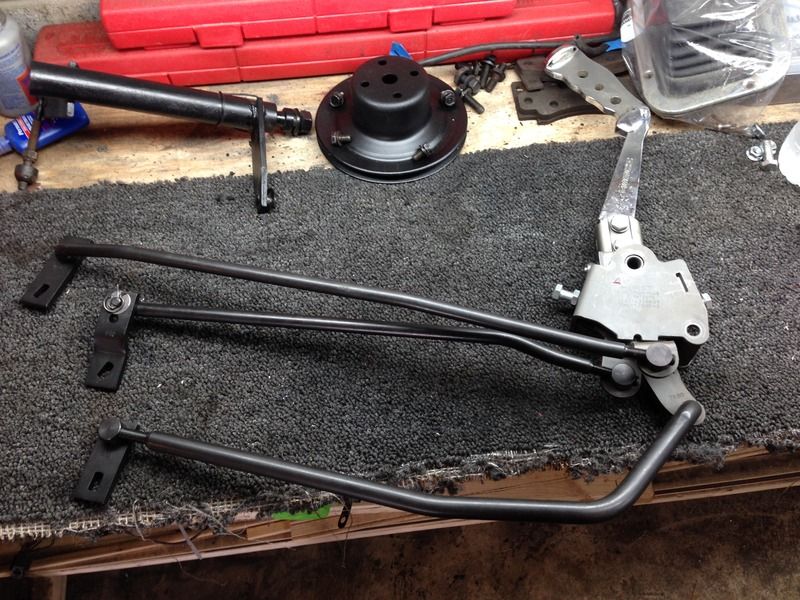


- Wilwood front disc brakes installed. Nice kit and super easy to install.
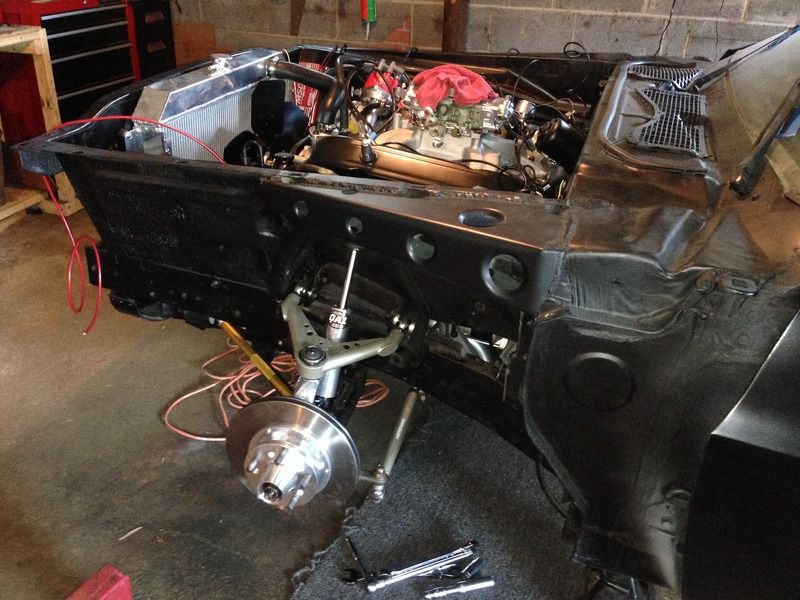

- Finishing up some of the engine bay. Wiring is almost complete, waiting on startup before tidying it all up.
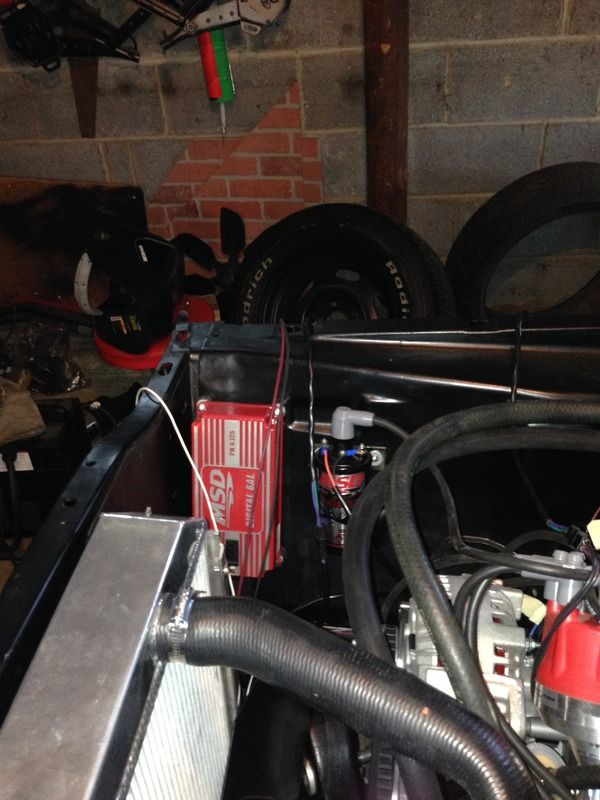
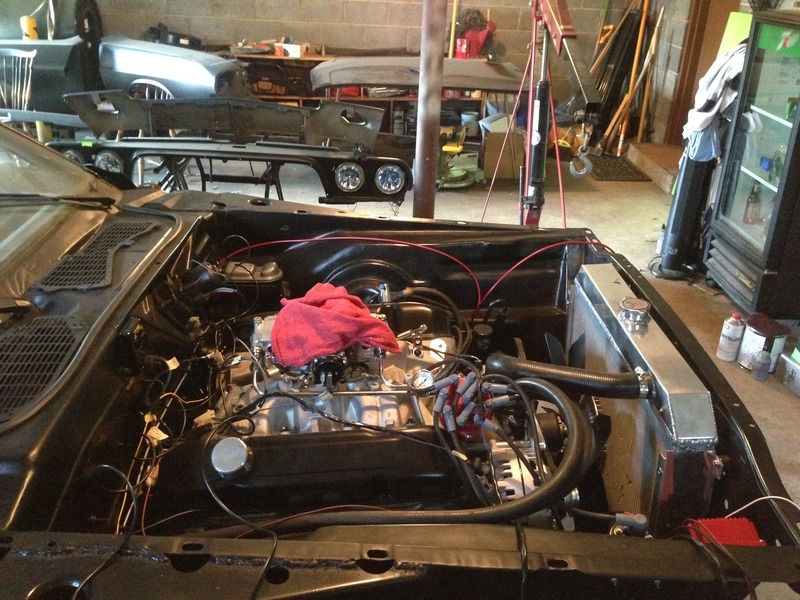
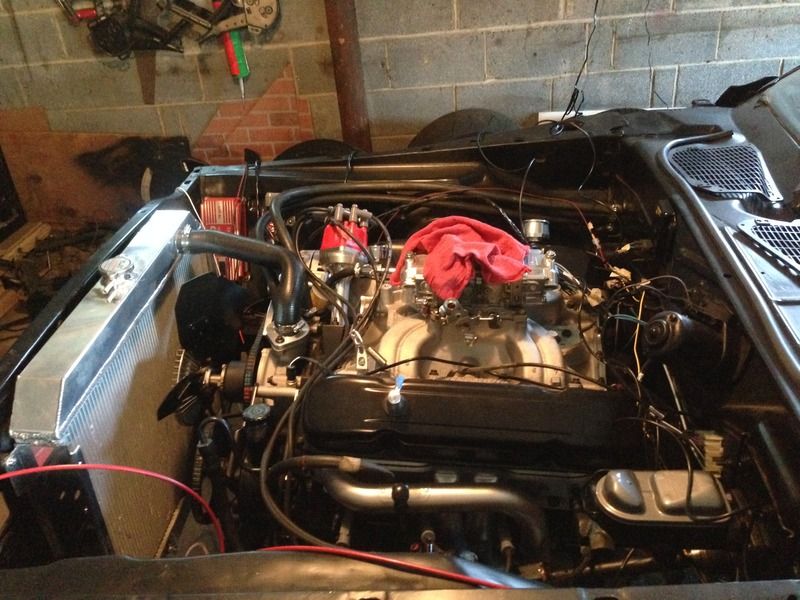
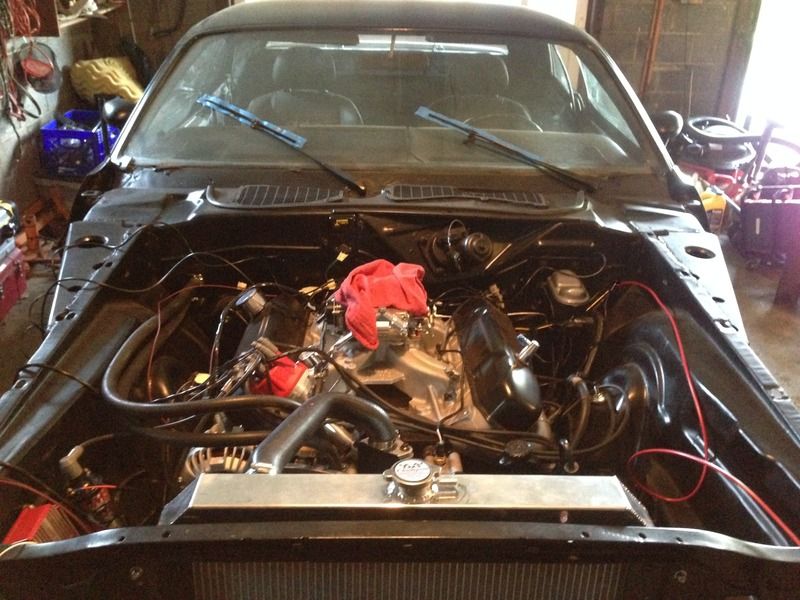

- FYI to anyone using a quicktime bellhousing, I had to tap the hole for the z bar ball stud. Not a big deal, but could've been easier if I test fit that before it was in the car. Tapping that hole on a creeper wasn't a great deal of fun.

Next: Need to bleed the brake system and prime the engine. Then going to lower it on all fours and attempt the startup.

73 Challenger
512 / 4spd / Hotchkis & QA1 Suspension