Well, time has flied again and I have been lazy in the terms of updating this thread. The work with the car has continued with increasing pace and we have set some kind of deadline for the project. The plan is to drive the car to a local car meeting (Forssa Picknick). It's the largest one day US car event in the scandinavia (~2500 cars). The event is held on the first weekend of august so it's getting kinda hurry

. The good is that my parents already promised to tow us there if the car isn't moving by it's own

The other thing that has caused to set this kind of deadline is that we bought some land and we should start building a house (with a couple of carages!) during fall so the Challenger should be somewhat ready before that. So the target is to get it somewhat road legal during next few months.
Well this is what has roughly happened during last few months:
The heater box has been repaired with fiberglass (and boy, it was in a bad shape). I'm not sure where the before pics are but it was in usualy bad shape overall before fixing it. We applied also few coats of black plastic paint to clean it up a bit.
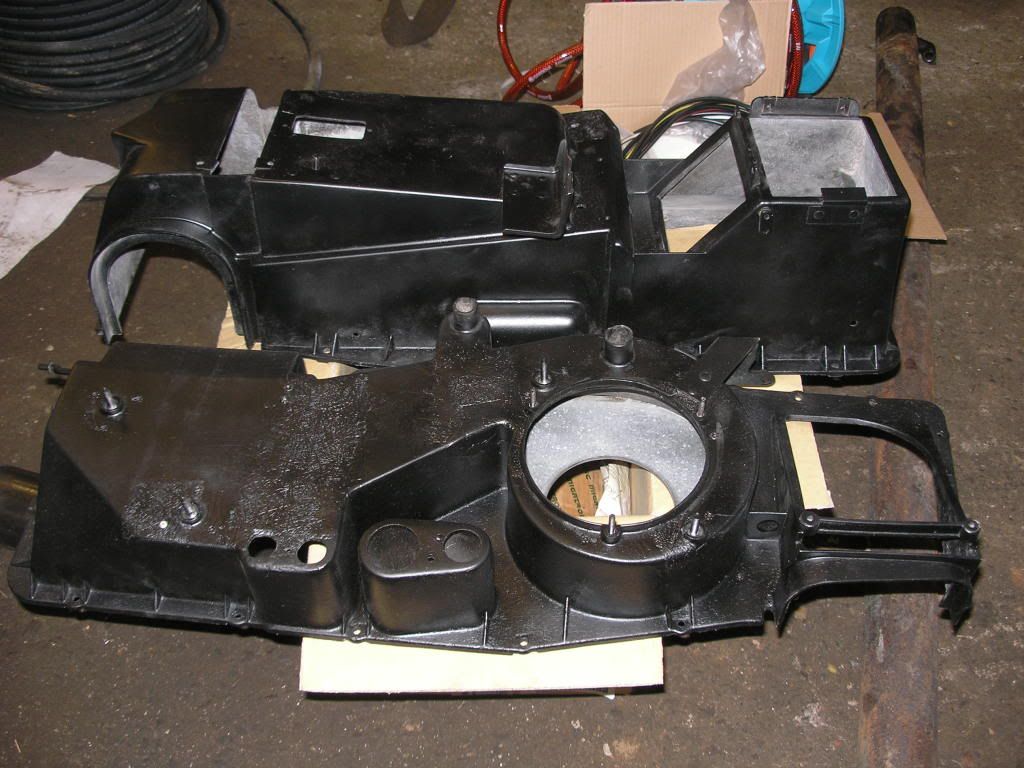
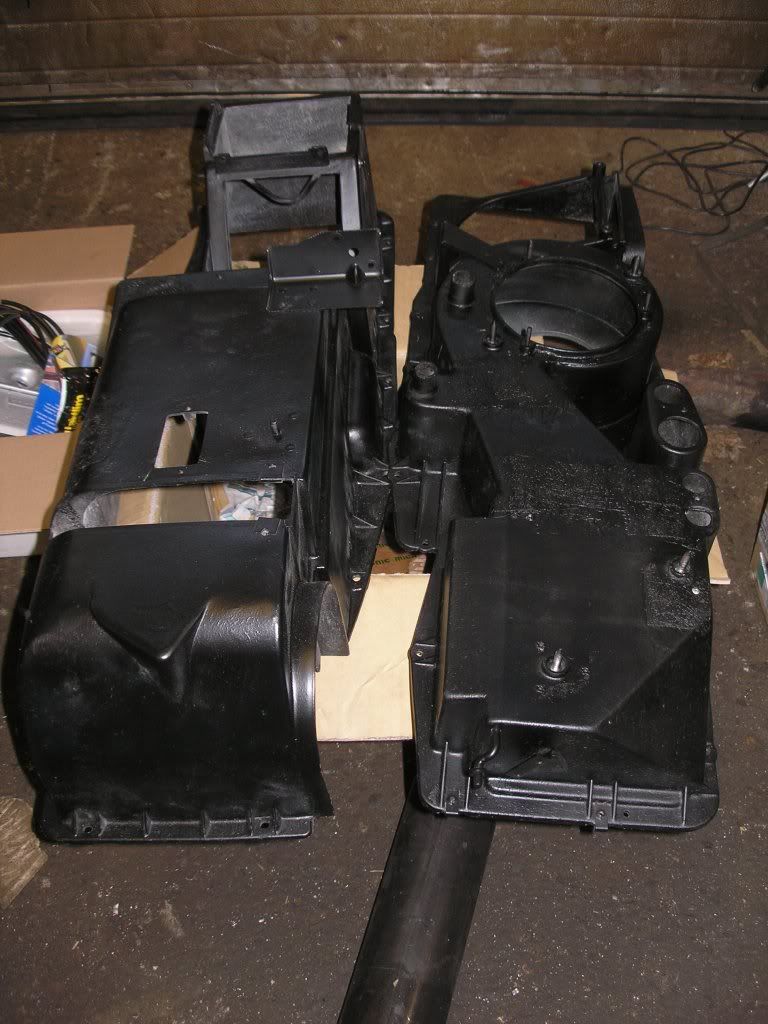
My fiancee has been working with it and the whole box should be ready during next weekend. I had to order a new heater core from Rockauto. The one I got was pretty messed up and needed lots of tweaking, but hey, it was also cheap. The new insulating foams were ordered from detroid muscle cars or something like that.
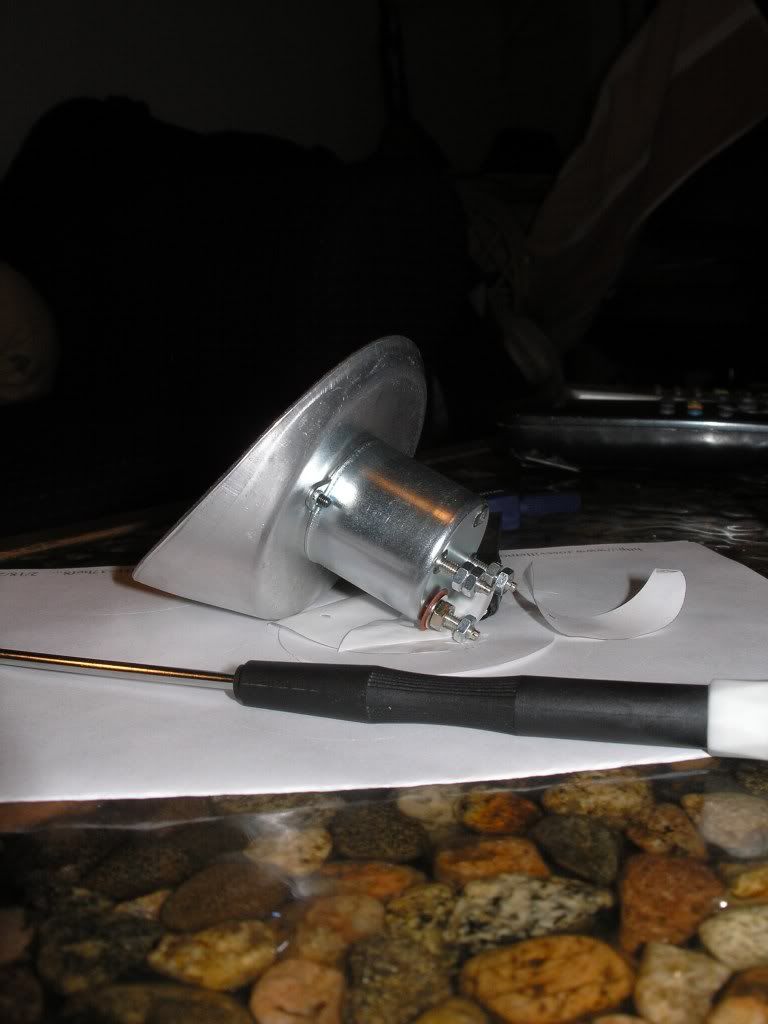
I have had a long term project on the instrument cluster and it's starting to get ready. I ordered a tach meter for non rt cluster and I also converted the original ALT meter into Oil pressure meter. I gutted some (Autogauge) tuning oil meter for the parts needed and fabricated some misc mounts to install it to the cluster. My fiancee designed a custom face plate for the gauge and it was printed on a self adhesive paper. The face plate was then placed over the original ALT gauge and the end result is shown below. If anyone is interested in some tinkering, I have couple of printed face covers available with the price of shipping. The only mistake I did is that I did the scale in Bars instead of Psis, I even didn't notice it before my friend said that. Well it isn't a huge deal. I did calibrate the meter and it should be accurate enough although the sending unit has huge hysteresis, something like 1 bars.
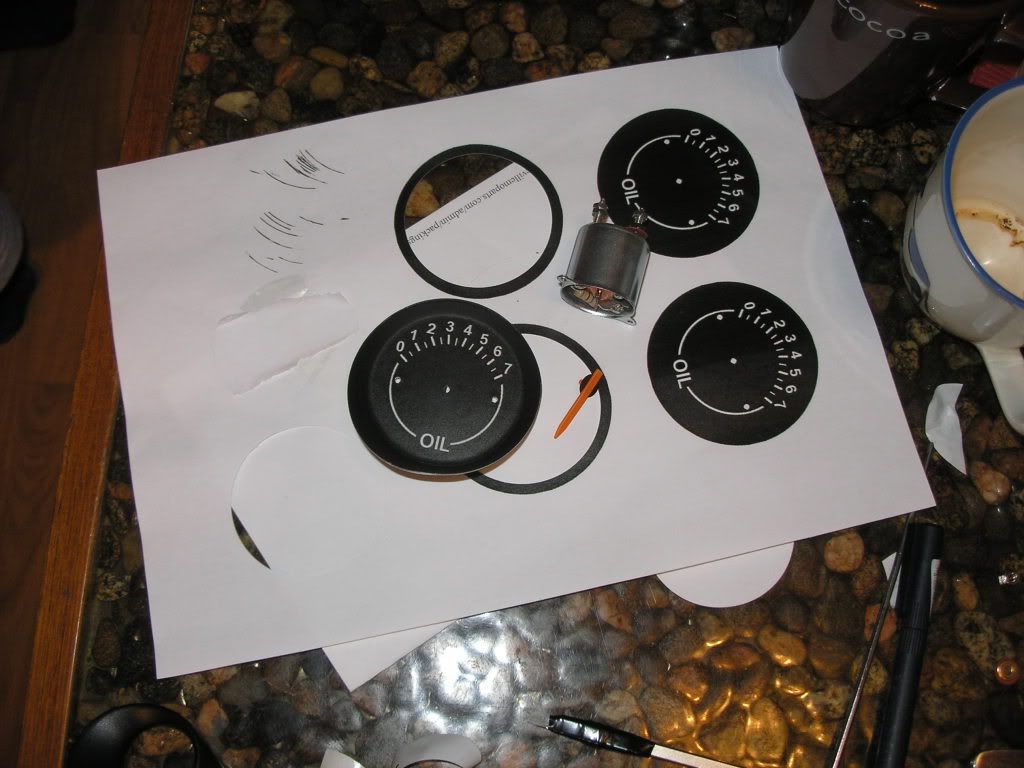
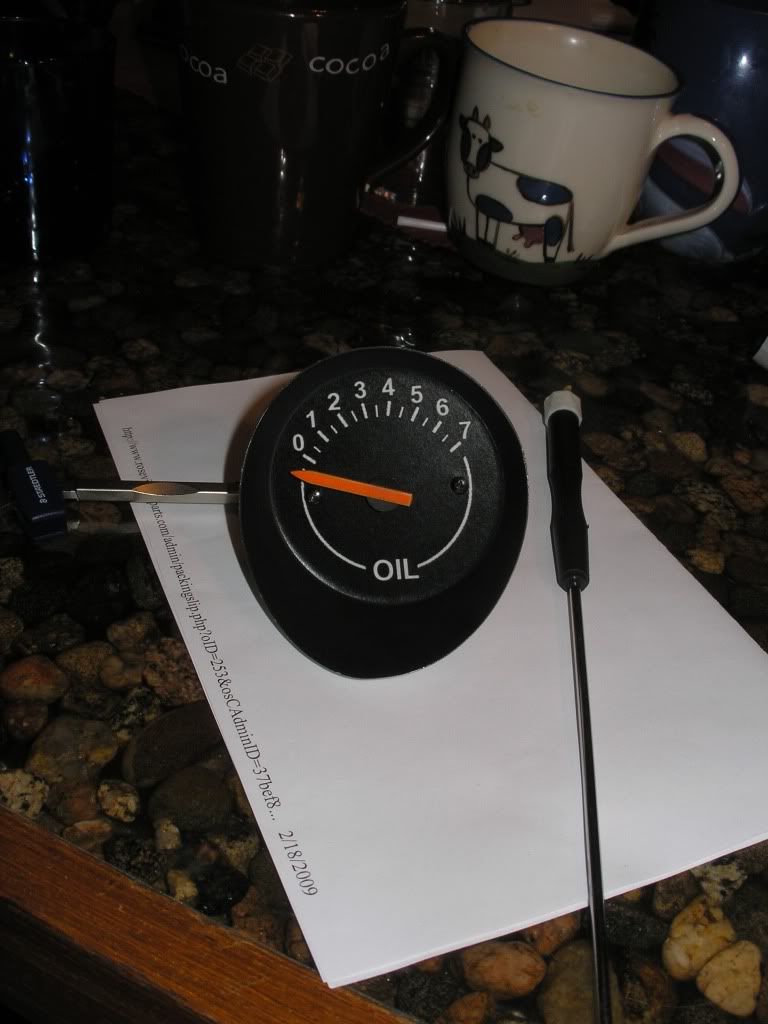
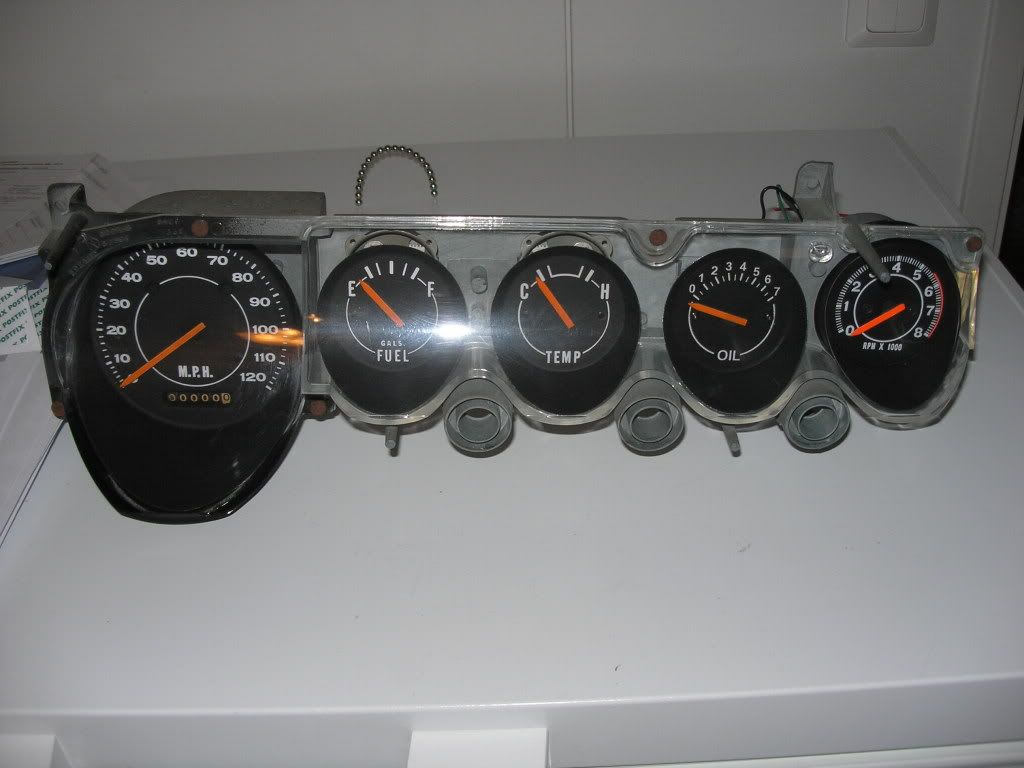
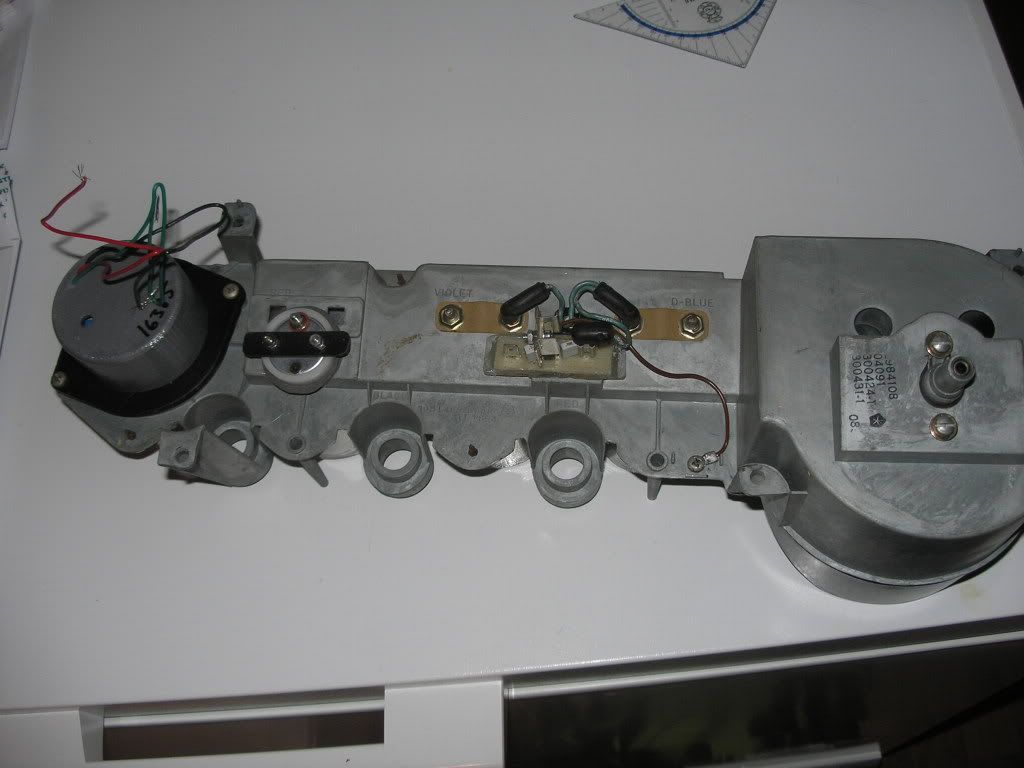
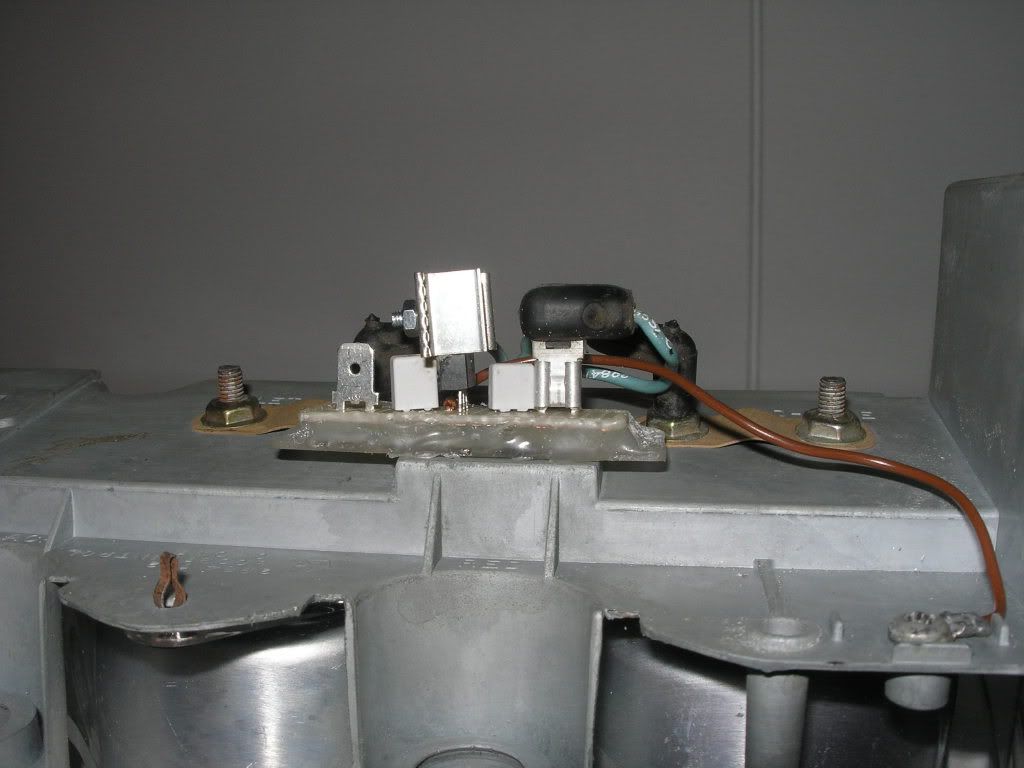
The old mechanical voltage limiter was also tossed away and I did a quick electronic version with few capacitors and modern voltage regulator. It doesn't look very good, but works like a charm and it is hidden behind the gauges anyway.
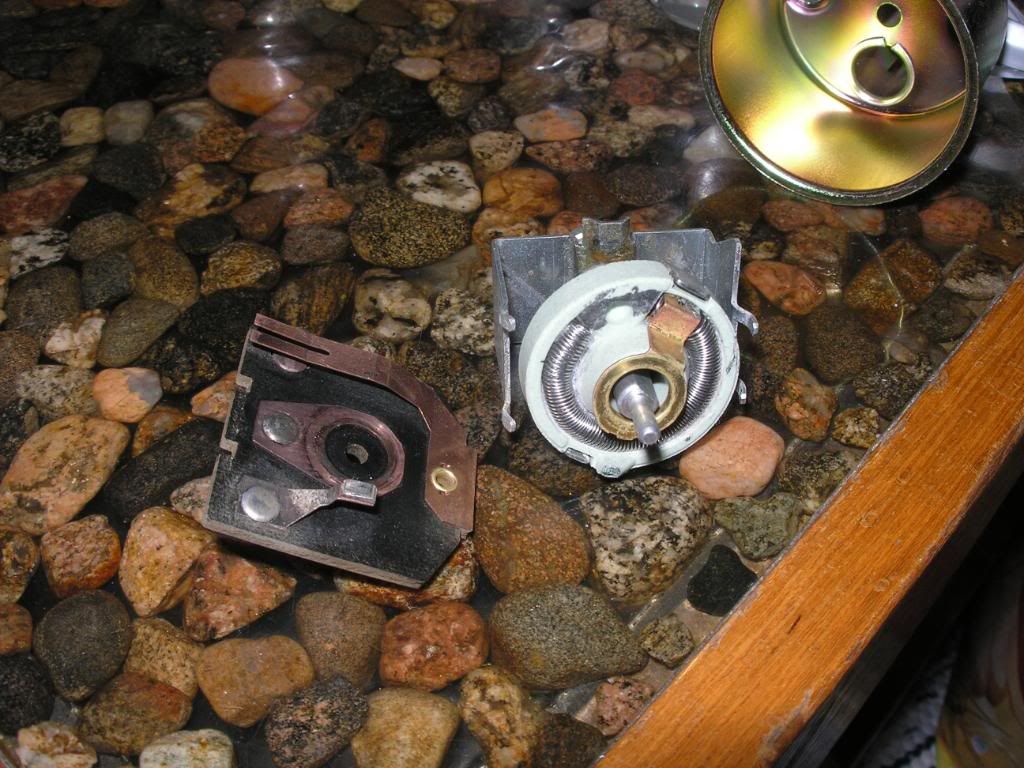
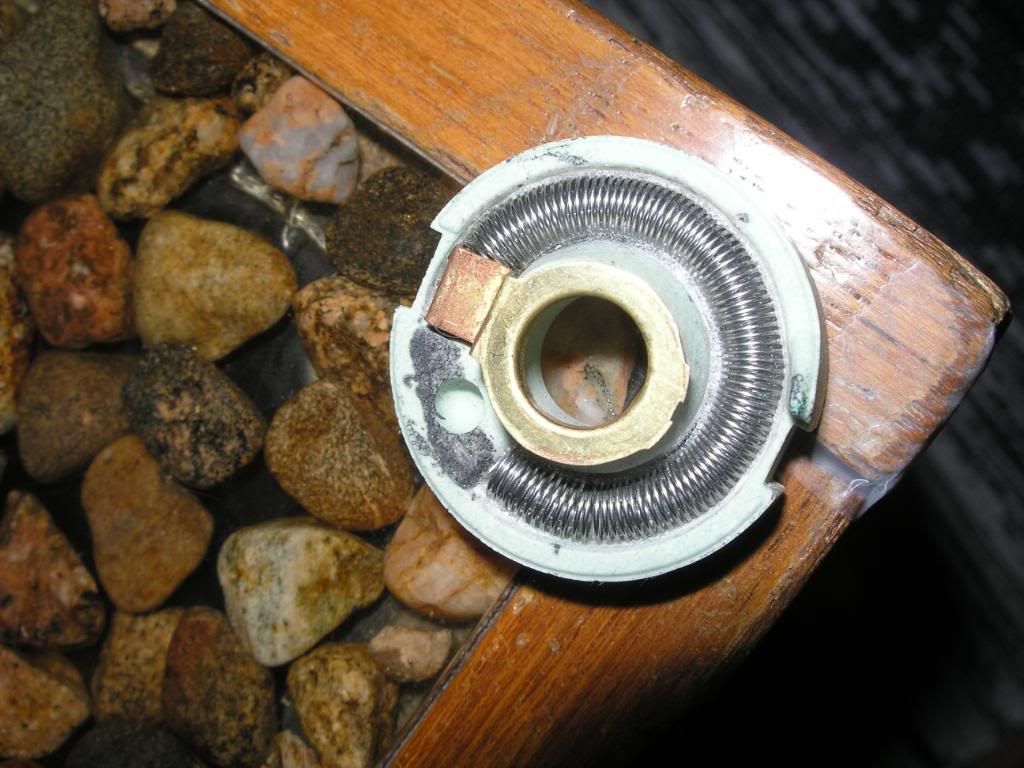
The resistance wire on the old dimmer switch was burned up so I did also fix that one. I had a pretty long search for the right sized kanthal wire and after a long search I found it from ebay. The seller was located in eastern europe, cannot remember where but I got a strip of wire very cheap. I used suitable round bar and lathe to wound the wire into a spring shape. The original wire was "glued" into the housing with some ceramic stuff which I failed to find so I used "waterglass" instead. It's glue like stuff which is used in fireplaces. The superballs are also made from the same stuff with the help of pure ethanol, which ofcourse we had to test at my work place

I didn't work with the actual car during the winter because as I have stated probably before, the car is located in our barn and there isn't any heating. When the air warmed up I started working again with the car and the first thing I did was to remove the hideously pathced trunk filler panel I did few years ago and installed a new AMD filler panel. The panel fitted like a glove and it really looks much better now. I did use lead on the side seams which are normally left visible because I like more of the clean look. Passenger side needs some mud because most of the outside cpillar is made from sheet metal and I'm not that good of a panel beater. For the painting I painted the window opening with por 15 first and after that the opening and the filler panel was painted with dp40. I don't have any pics from the actual work because I was kinda hurry during that time but I have one pic after the painting.
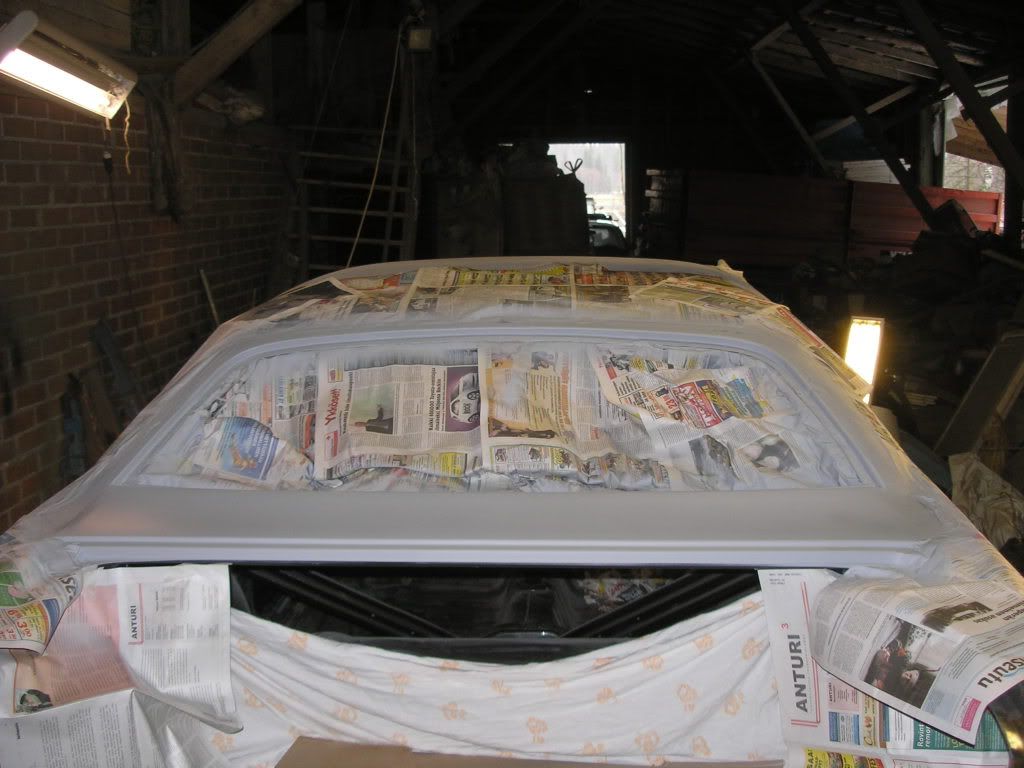
After the filler panel was ready I cleaned and fixed the rest of the rear end including the trunk gutters. The gutters and some selected parts of the rear were also painted with por 15 and por etching primer first and the whole thing was covered with dp 40 after that.
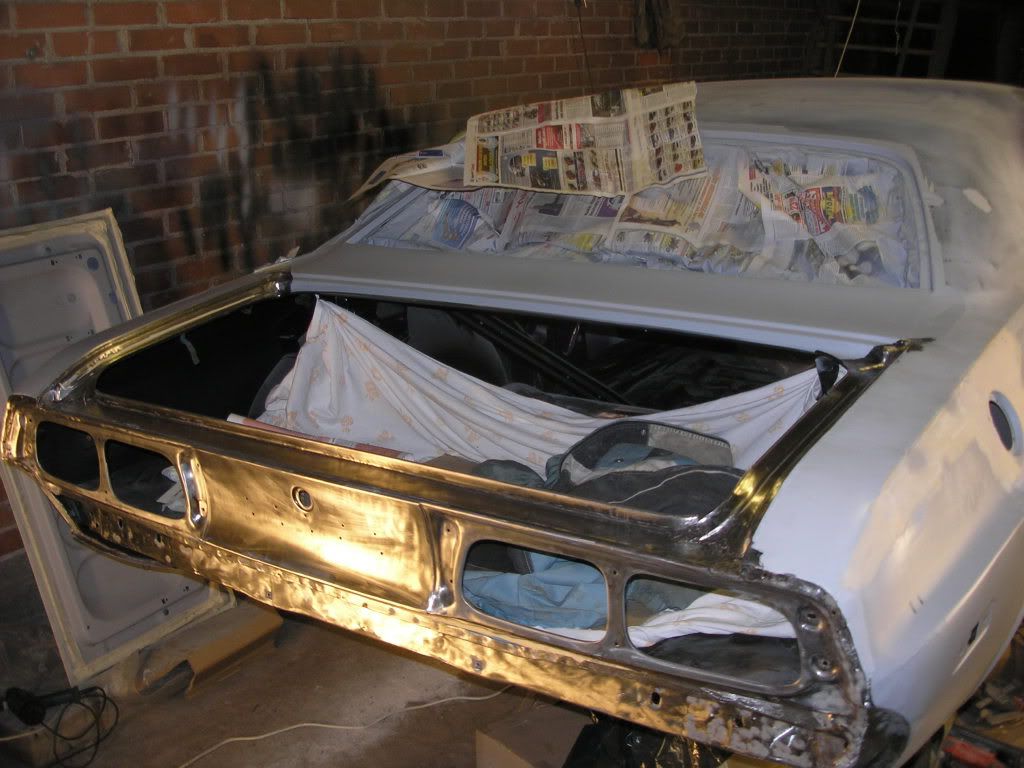
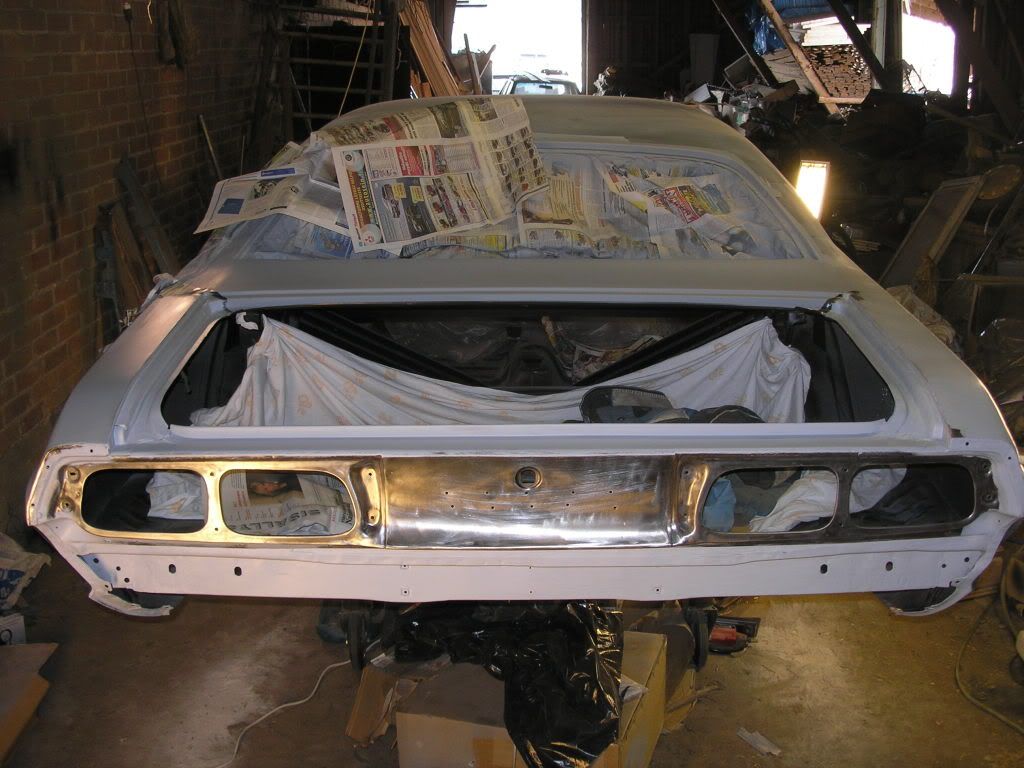
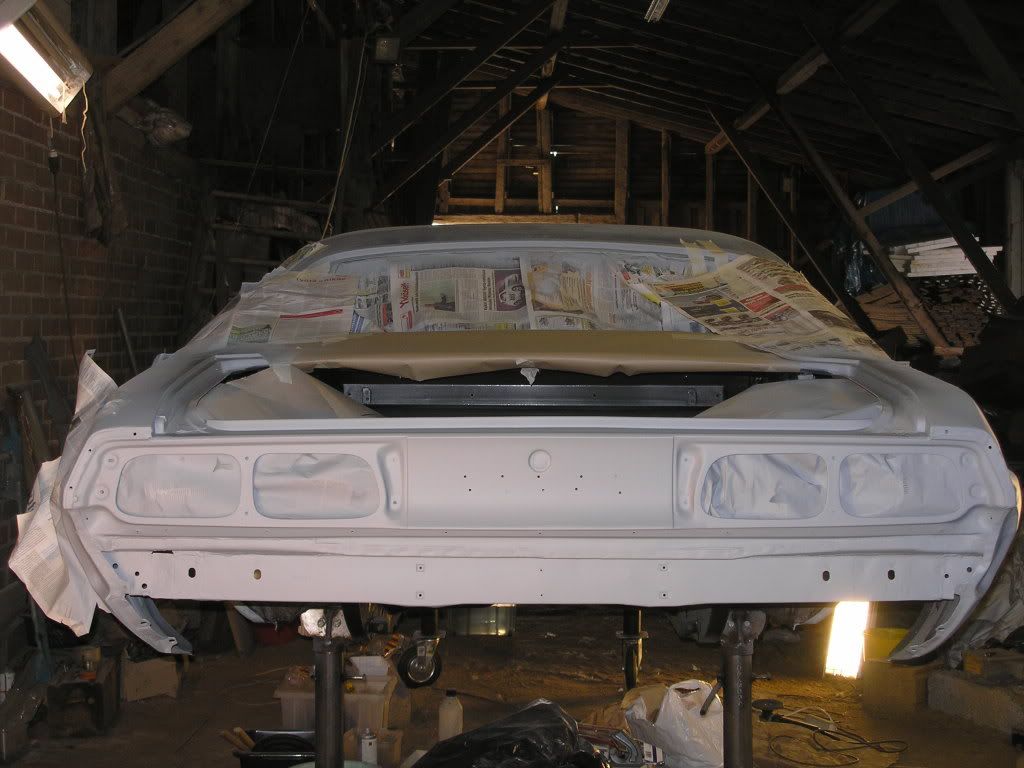
Someone might notice that there is a hole were there shouldn't be any on the rear crossmember. I was bit frustrated when I noticed that I hadn't welded that shut. The rotisserie has probably been in the way during the time I have repaired that area and that's why it is missing some metal and weld. The areas around that hole are painted pretty heavily with por 15 and chassis coat black which made me to decide that I will fill that hole with a seam sealer. The por 15 tends to burn pretty easily and I don't wan't to ruin a perfectly good paint around it. Anyway, it is a new sheet metal covered with paint so it won't rust and the structural integrity it is missing is next to minimal. This sound like I'm trying to convince myself that it is ok to use a sealer there

Well, that's about where the car sits right now body wise. The engine is almost ready, short block is assembled and waiting for the heads. The heads were milled 1.2 millimeters to raise the compression so I had to mill the intake sides of the heads too, which I did today. The port work is about half done with the templates so if everything goes well, I have the head ready during this week.