I am copying some of the 'how to' stuff I had posted on my old Goodysgotacuda.com site on here. Hopefully it sticks around for a bit, or is at least 'searchable' now.

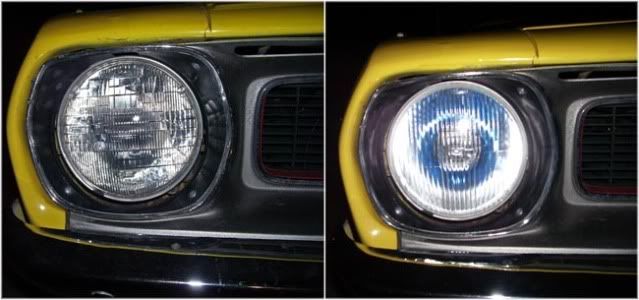
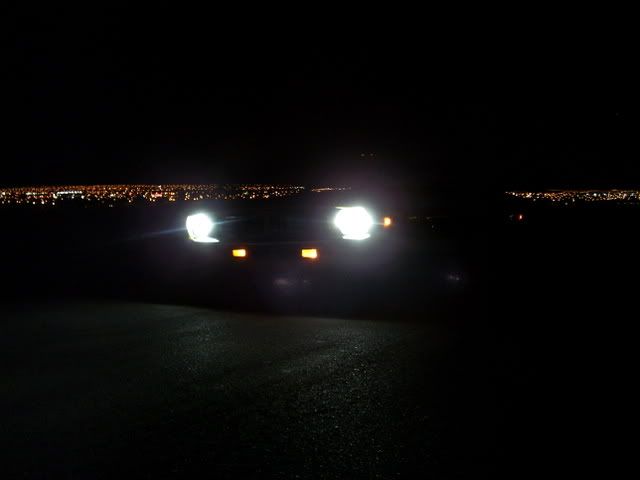
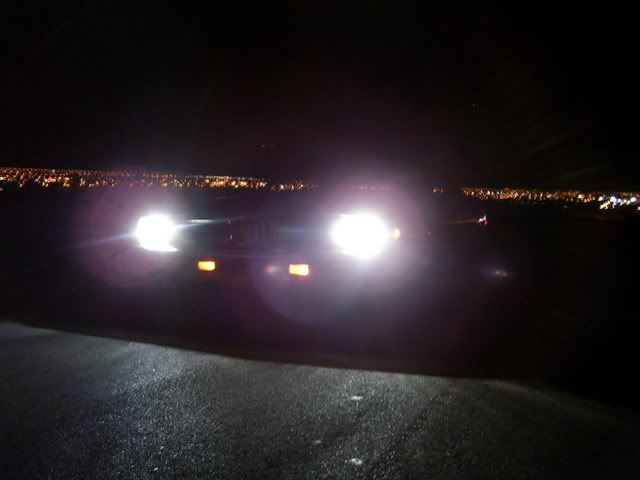
I installed a pair of H4 headlights on my 1972 Barracuda, which are now run off relays. The bulbs are 90watt low beams and 100watt high beam H4s (plug is identical to factory sealed beams). This makes for some serious lighting output over stock sealed beam lights. I purchased these off ebay (2006) for for about $24 shipped with bulbs. I searched under Camaro headlight conversion, at the time there were lights available for very cheap. Since the Camaros and many other cars from the day used the 7" lights, they dropped right into the stock buckets. Hella also makes a glass conversion light, I believe it is around $45 per light, and is a quality assembly.
These 'up to date' style halogen bulbs are very bright, direct replacement for stockers, and use the factory wiring if need be. I decided to make a new headlight harness which would run the lights off of relays, rather than try and get high power lighting out of 30 year old wiring. Which is not only inadequate, but also could be dangerous due to more current being run through them.
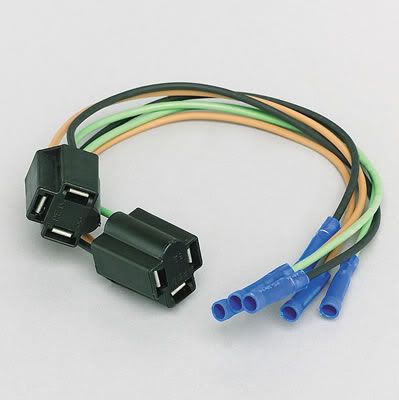
Here is the harness I made, it is certainly nothing fancy. Just measured the distance between the lights and wired it up. I used all 12 gauge wire with brand new painless wiring headlight sockets. All soldered and weather tight, wrapped. Rather than hacking my factory wiring too much, I just installed this harness in addition to the factory harness still being in it's place. The factory sockets are still there and functional if you decide to go back at some point. I did this so that the load of the lights is solely between the light, and the relay. The relays are only relying on the stock wiring for a extremely small amount of current to switch the relay internally via the factory headlight and high beam switch.
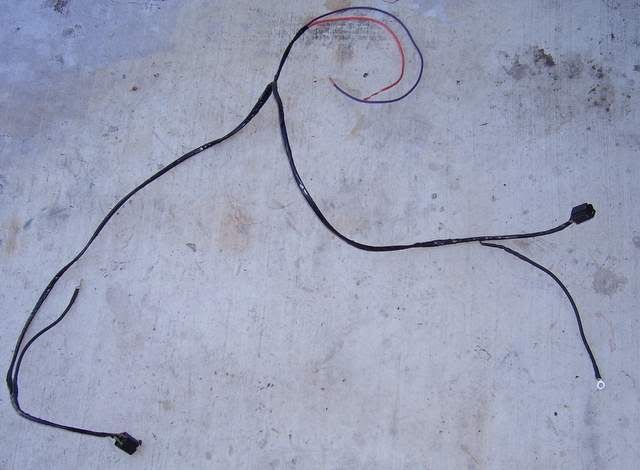
I used Painless Wiring part number #80300 sockets. They are around $15 or so.
That is basically it for the relays-out harness for the headlights. The sockets are the exact same as the factory ones, so to find which terminal on the headlights is for the high beam and low beam. Simply just turn on your high and low beams, using a test light see which terminal is hot when and that will let you see which terminal on the headlight should be hot for high and low beams. They are not both hot when on high. To wire up the relays here is a basic diagram of what wires go where on your four-post relays. I ran, I believe 15amp fuses to a mini fuse box I bought off Checker Auto's website. Anyway here is the diagram.
To connect your 'Tigger' wires to the factory wiring you can either use male spade connectors and plug them into the factory socket. Or, what I choose, was just Tap Splices. These wires are low current, which means that the load of the headlights do not pass through them. I have not had any issues with the tap splices, you could also solder and wrap any connections to the factory harness if you so desire. It just tells the relay when it should give power to the 'output'. That is all that is needed to be done to the factory wiring harness. Easily removed if need be, will not 'hack' into your stock wiring.
Low
High

 Topic: Goody's How To - Headlight Relays - 2 bulb hi/low (Read 7867 times)