Installing Autometer Gauges in your standard dash E-body Gauges:
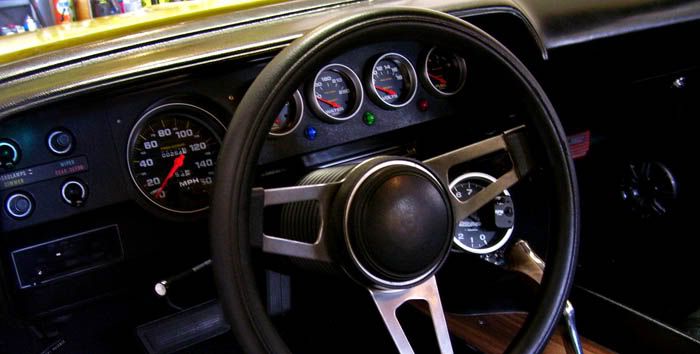
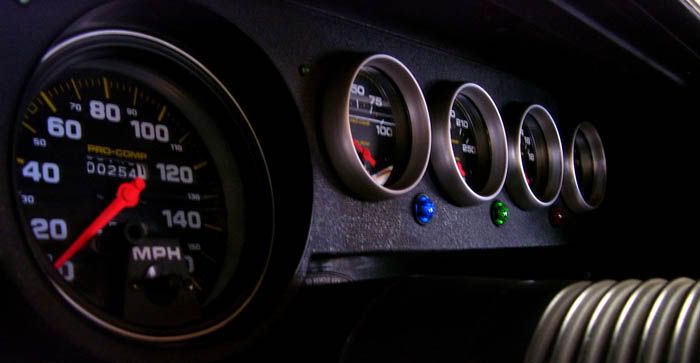
 I am running Autometer Pro-Comp series gauges. Electrical gauges, 4 x 2 5/8" and one Mechanical gauge which is the 5" speedo. I went with electrical gauges in my dash for a couple reasons. One, being with todays technology, I feel that they are reliable and accurate enough to give me the information I need to know. Another, installation is much much easier over mechanical. Mechanical you have to plumb, put holes in the firewall, and bring hot oil/coolant into your interior which I do not like. A leak or a break in the line will leave quite a mess. Anyway again, the sizes are 2 5/8" and 5" for the speedo.
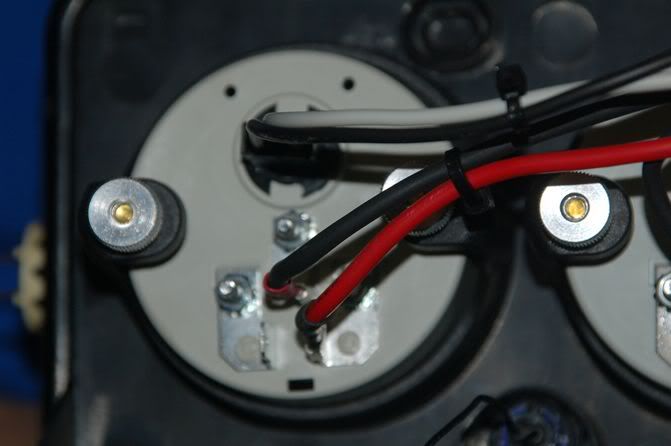
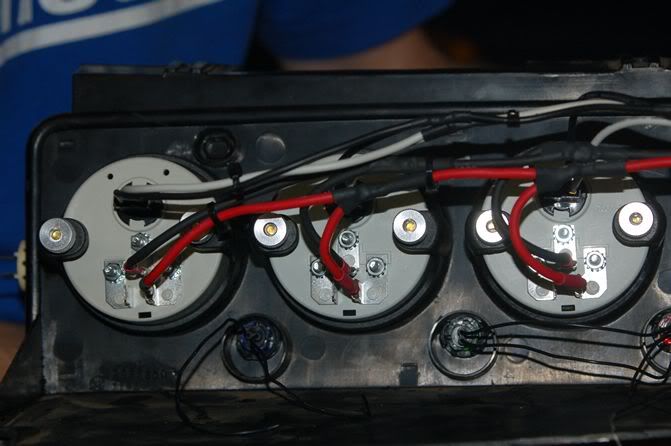
Gauge Mounting: For those that aren't familiar to how Autometer gauges mount. I've included a picture to show how they retain. The gauges have two studs and will push into the bezel through the front. The gauge bezel will keep it from going all the way through. What will need to be done to the bezel is a bunch of excess plastic trimming. You can use whatever method you feel, I took a dremel and some various ends to whiddle these parts down. Once you get that excess plastic out, you now have a flat surface for the gauge retaining bracket to sit up against. Just go hand tight with these. You don't want to crack that dash bezel. If you are concerned about it vibrating loose, a little lock-tite or double nutting them will keep that from happening. I didn't do either, and they are holding up just fine. The speedo on the other hand is a different story. If you look at how mine is mounted, it is mounted somewhat like how the factory is. It is angled back and not straight/flush like the other gauges. To do this, I bent a little metal that attaches to the gauge from the mounting studs, and the bezel. I just did a small poprivet into the plastic, holds it just fine and at the angle I want. This is not visible once installed.


 'Idiot lights':
 The three warning lights I have (Red, Green, and Blue) are 'push in' from radio shack. Meaning the diameter of the light hole has been made, they just pop in and stay in. The standard dash comes with small bezels in these three holes already. You can remove those, or in this case I just popped them out without caring too much given it was a spare/cheap bezel and they weren't perfect anyway. These three holes are 1/2" in diamater. So are the radio shack lights, so once the lenses are removed, they just pop in. I'll get to wiring those up later. For turn signal lights, if you look closely, they are there. They are little 1/8" dia Painless wiring green lights that you drill a hole for, and pop in.
Wiring: Most dreaded part for some of you, but it comes out quite easy once it's all said and done. Very minimal 'hacking' (if you can call it that) is done to the factory harness.
*Switched 12v power I ran a fused wire to the accessory male spade terminal on our ebody's fuse box. This is a switched/key on wire that will do the job just fine. A small, 5amp fuse is all thats needed.
*Ground for the gauges is to the dash frame. I ran all the gauges power and ground, parallel. I used a 10gauge wire from the power source straight to the last gauge. Then each gauge would feed off of that, keeps it more simple.
* Sender wires I ran all new directly from the gauge to the sender using 16ga wire.
* Turn signal lights, when you pull your factory cluster out, you will see the two bulbs that lit up your factory turn signal indicators. I used two 'tap splices', one for each of those wires, to the power side of my l.e.d turn signal indicators. They were grounded from there.
*High beam indicator and parking/brake light, same pricipal for the turn signal lights, as you pull your stock cluster you can take note of which wires worked which factory bulb. Just splice from there and ground your bulb, it'll work just as the factory ones did.
*Gauge lights ran off of the factory dash lights. I kept my gauge bulbs green as the stock lights shine green down over the dash. In the process of pulling your stock cluster you will drop down your lights. Splice off of the hot wire (using a test-light or multimeter), and then ground your lights.
