Sorry i didn't get this posted earlier but that damn blizzard rolled thru and made a mess. For this I chose some tools/materials that where affordable and easily found.
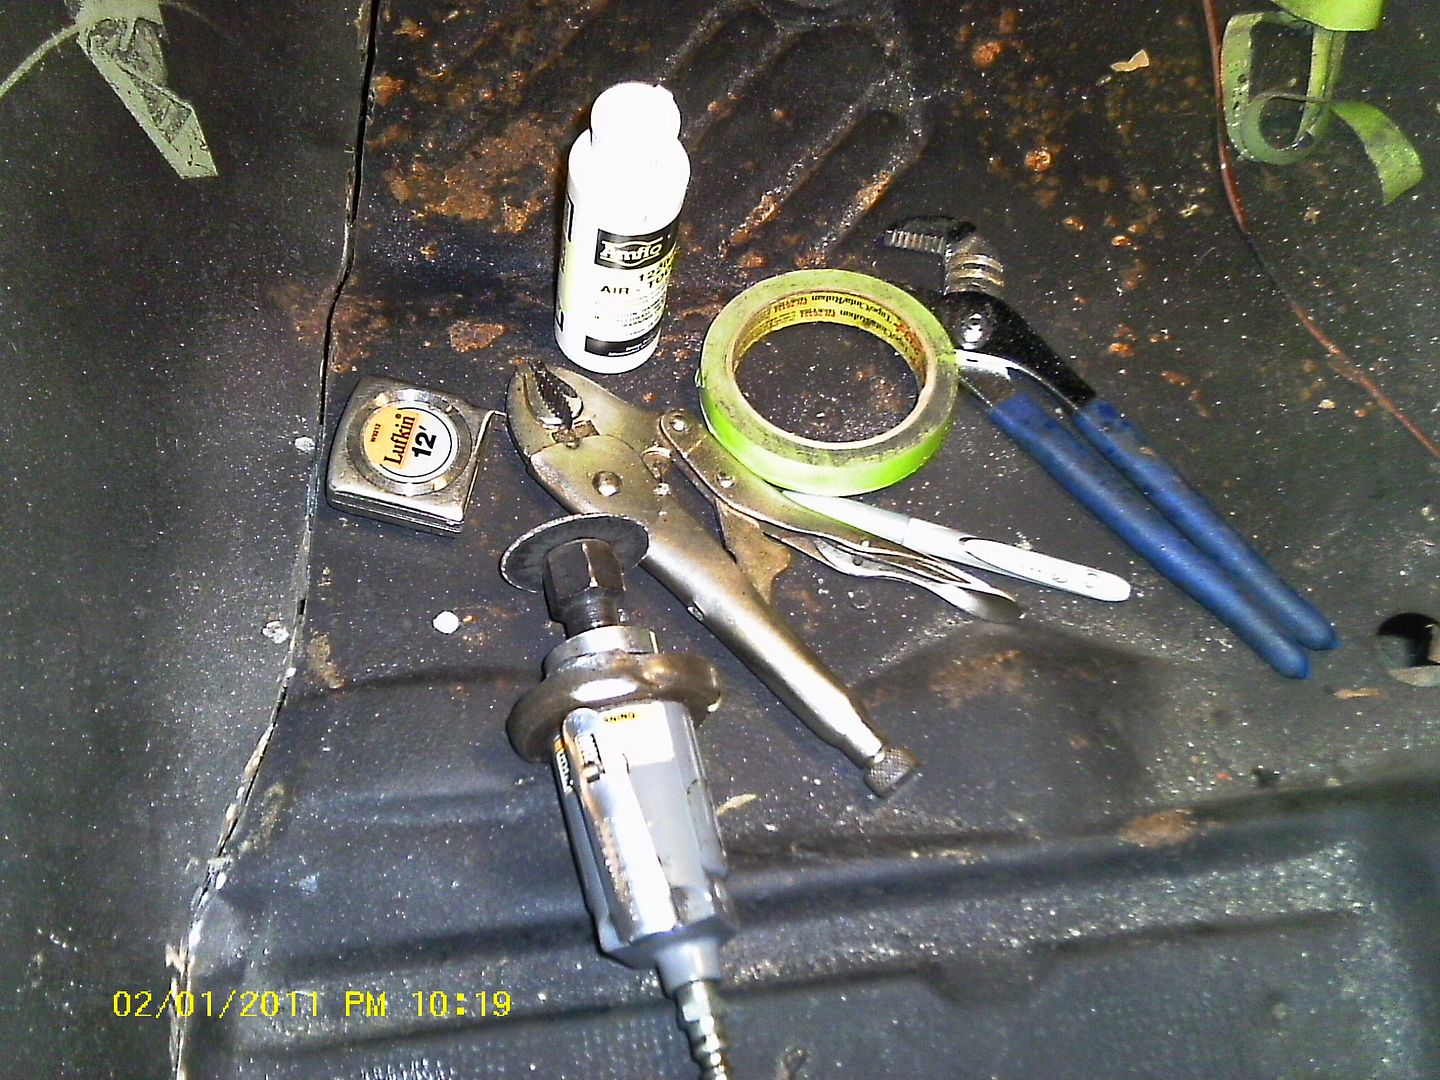
Lol don't forget the safety glasses! The next step was to peel out most of the old interior.
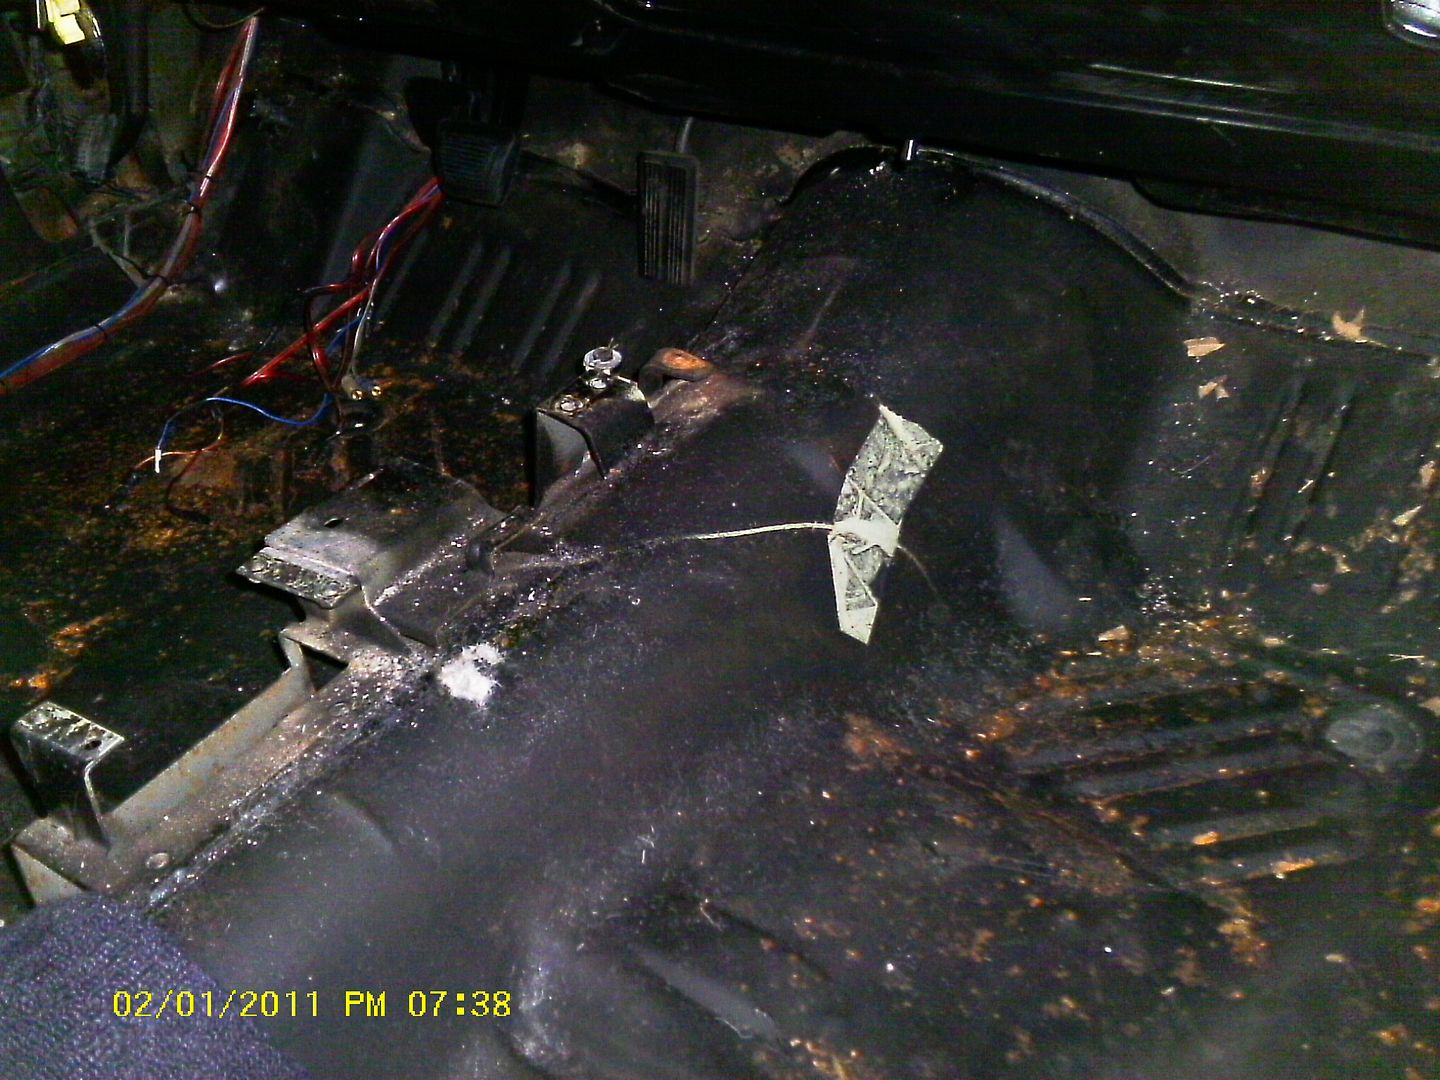
I then used a paint marker to mark the spotweld and locate the cross member before I started cutting.
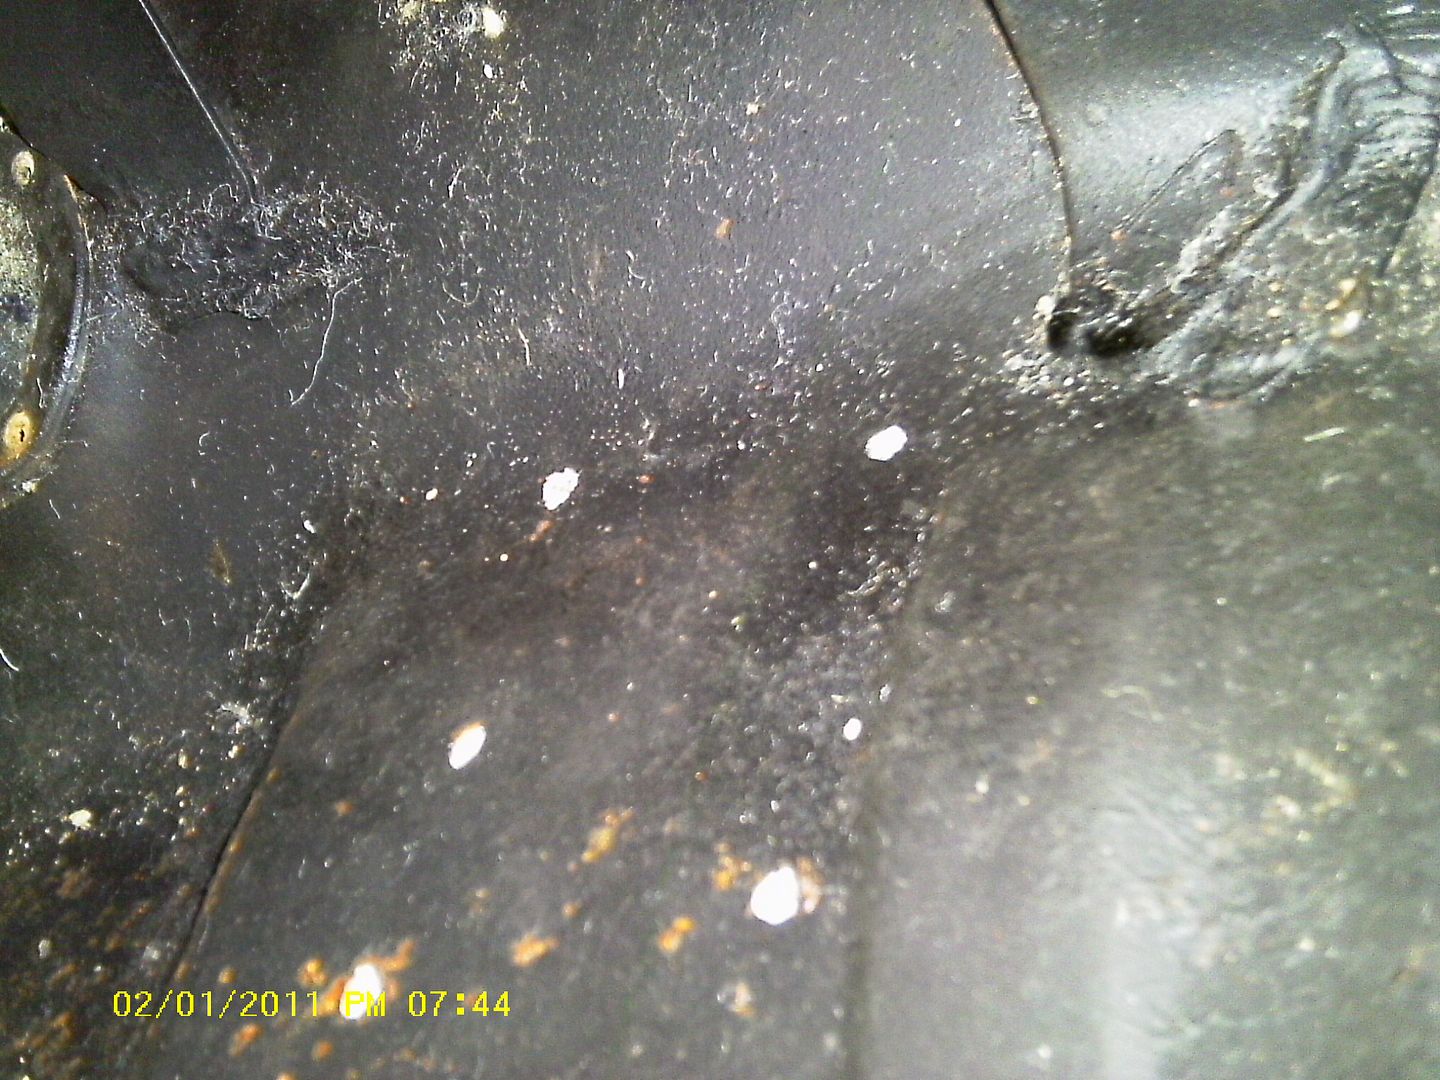
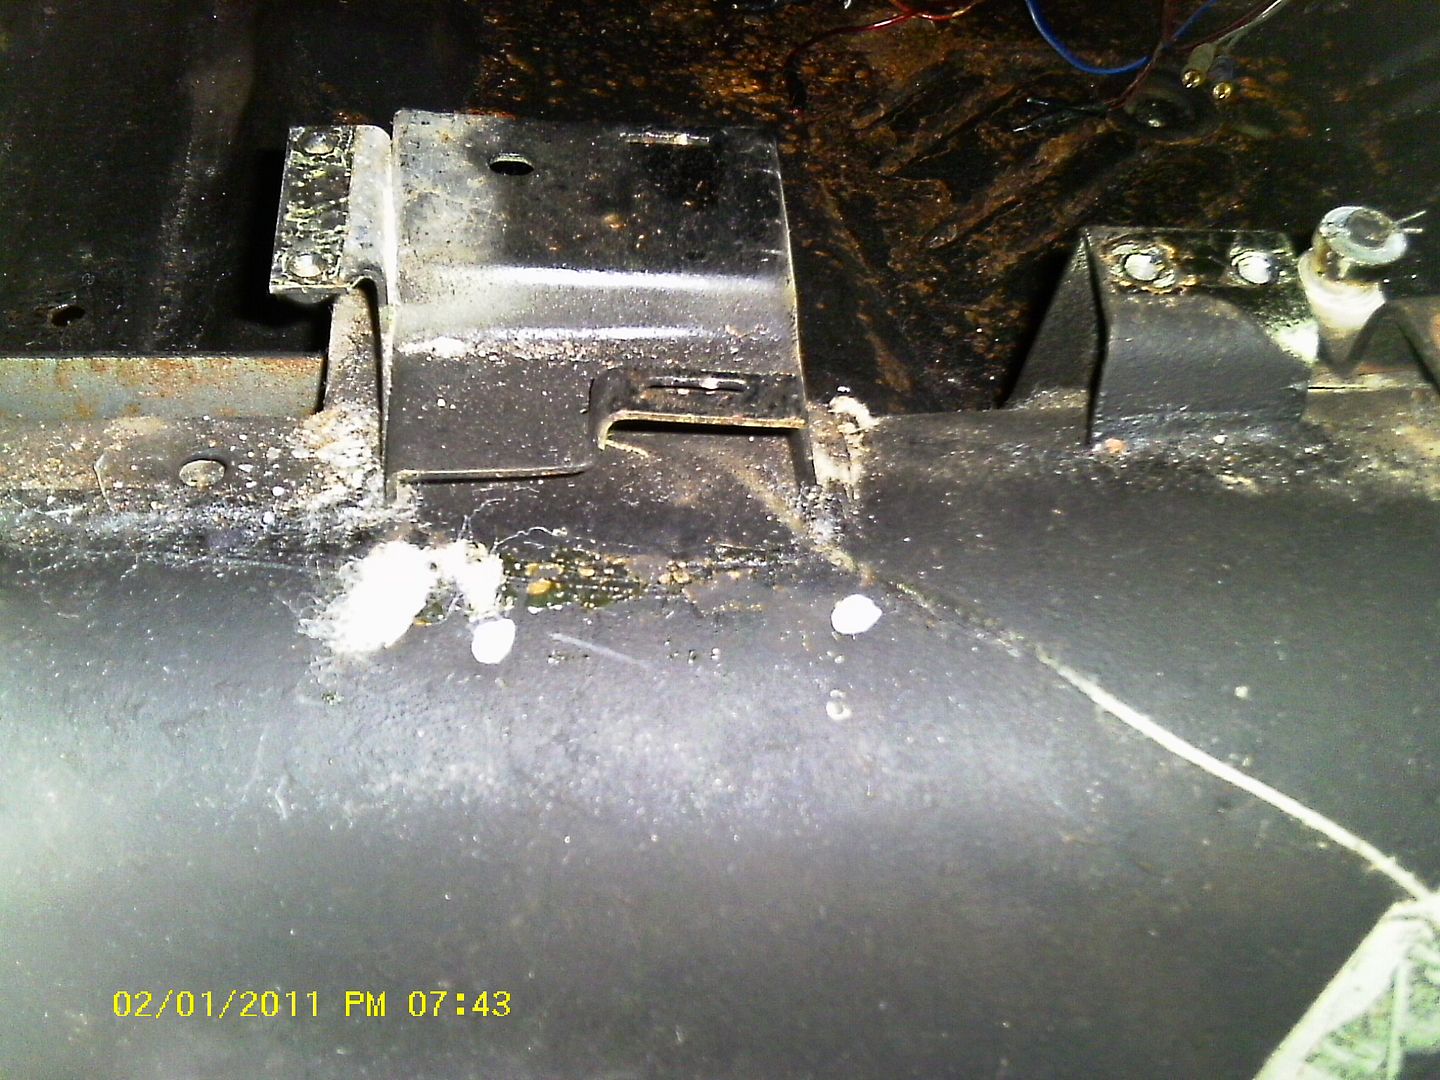
If you can't locate the spot welds easily like in my case, use som masking tape to mark the cross member and roll it over the rockers and across the floorpans. Then use a paint/rust remover wheel in a drill or whatever you have and sand down the area lighty. This will make the spot welds pop. When I measured the BB with the Schumacher mounts to the bell housing flange (18), I added that dimension to the T-56's overall length (34 1/2") with the Bell attached. This gave me the difference in length from the 360/904 that is in the car. Also on a curious note The LA motor & RB are the same length to the bellhousing mating flange with this setup, and being that the LA/904 are still sitting in that car (ready to pull but I gotta make room to store them lol), all I had to do was measure from the LA motors bell housing flange to the back of the trans cross member and subtract the difference. I ended up making the back cut 9 1/2" from the back of the crossmember, which is a good 1/2 inch more then needed. This also places it right behind the Auto's Shifter bracket.
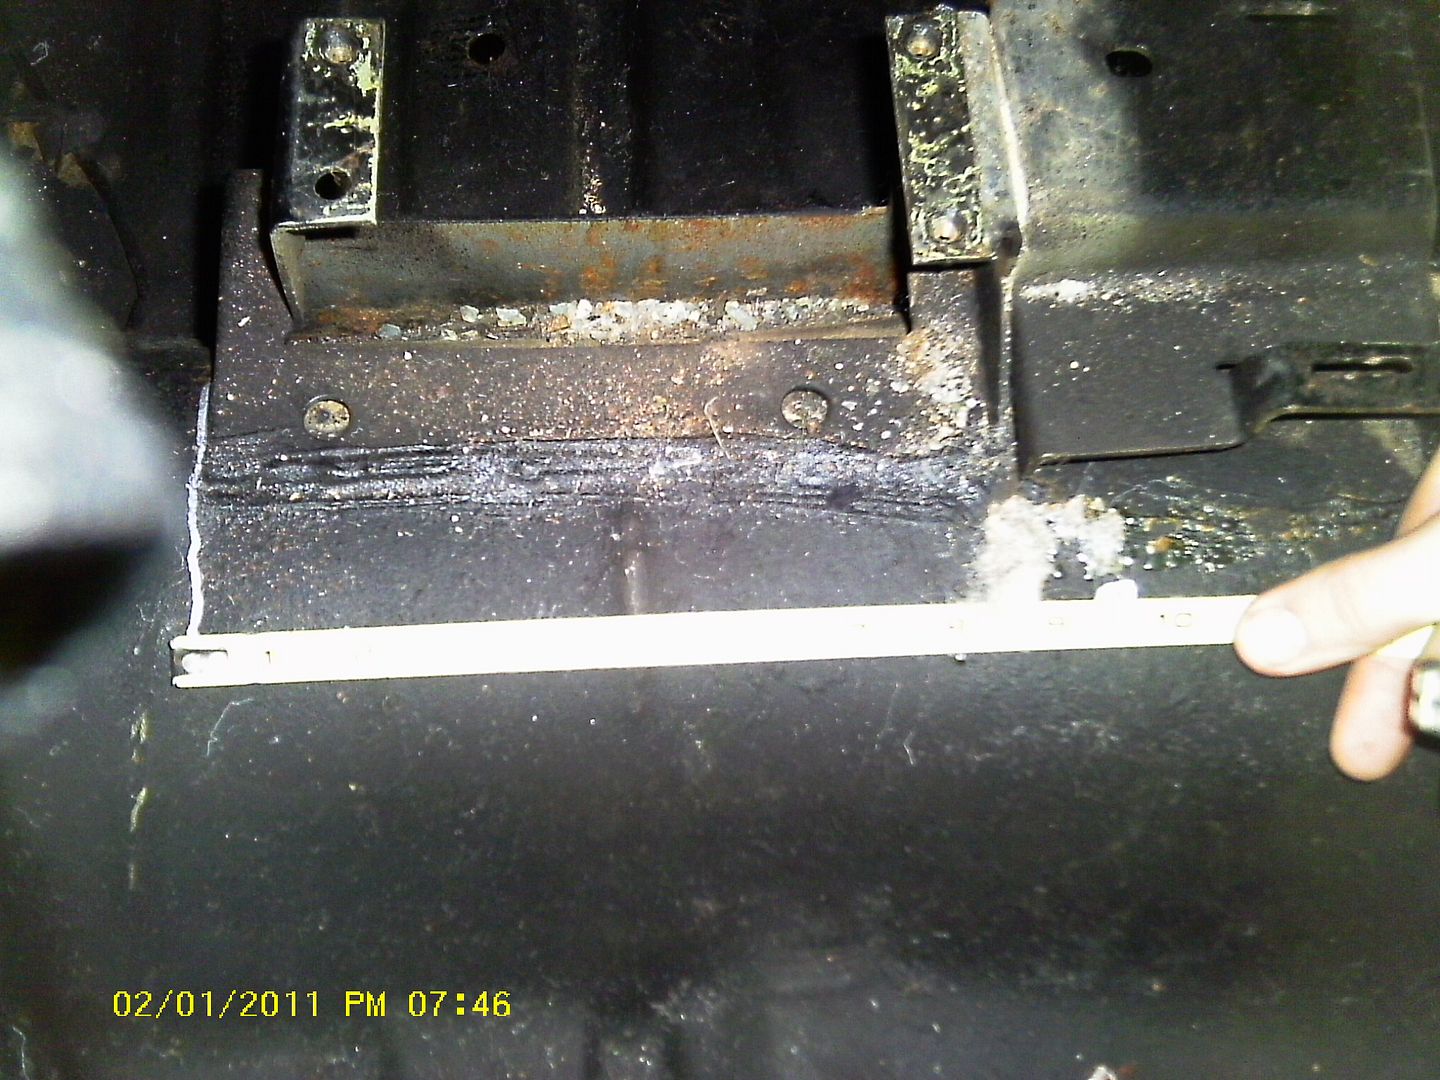
To remove the bracket I cut the welds (mig'ed in by the factory) right on the edge of the bracket, then I cut the bracket at is thinest points, and finished by using some vise grips to break them free. This allowed my to finish my tape line for the cut.
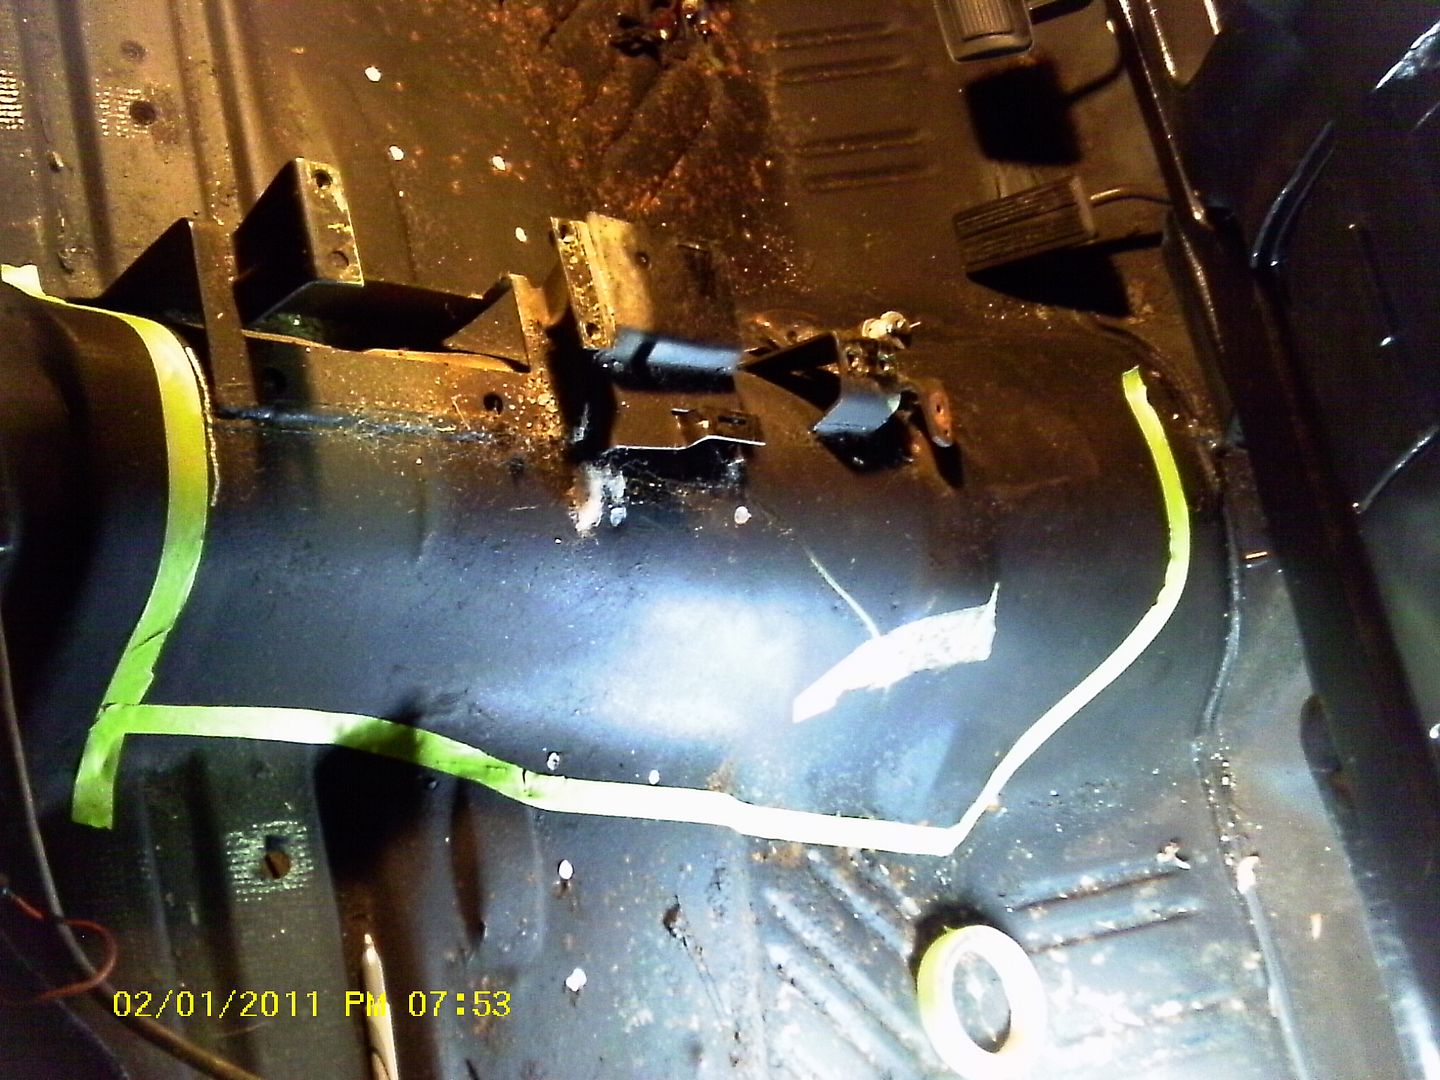
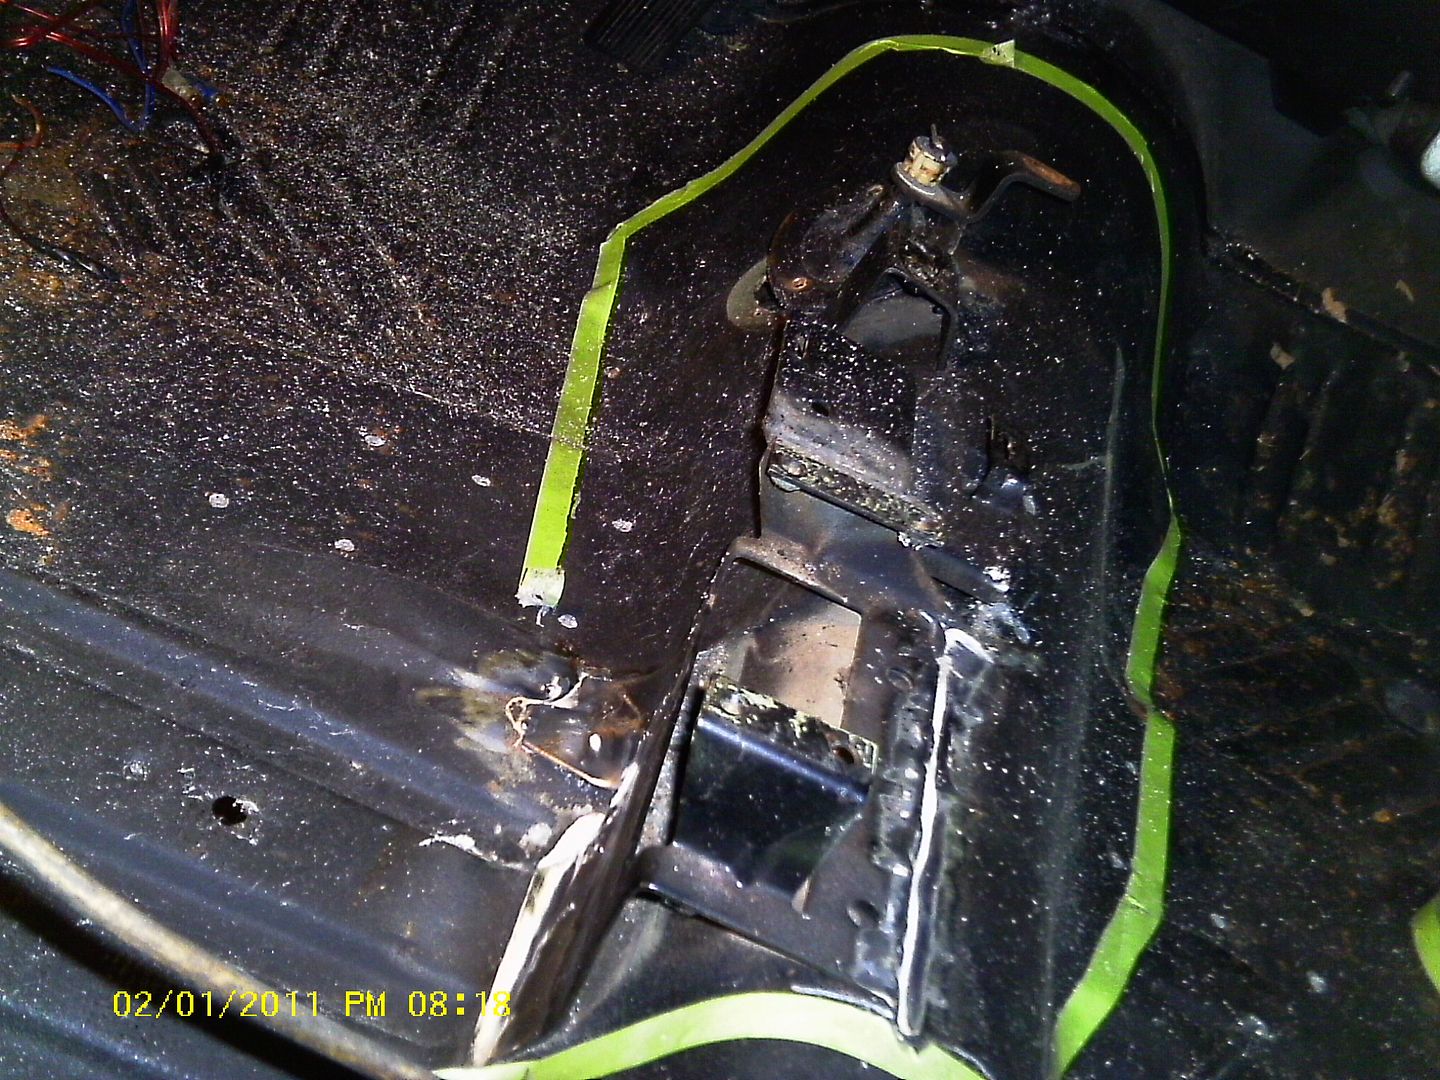
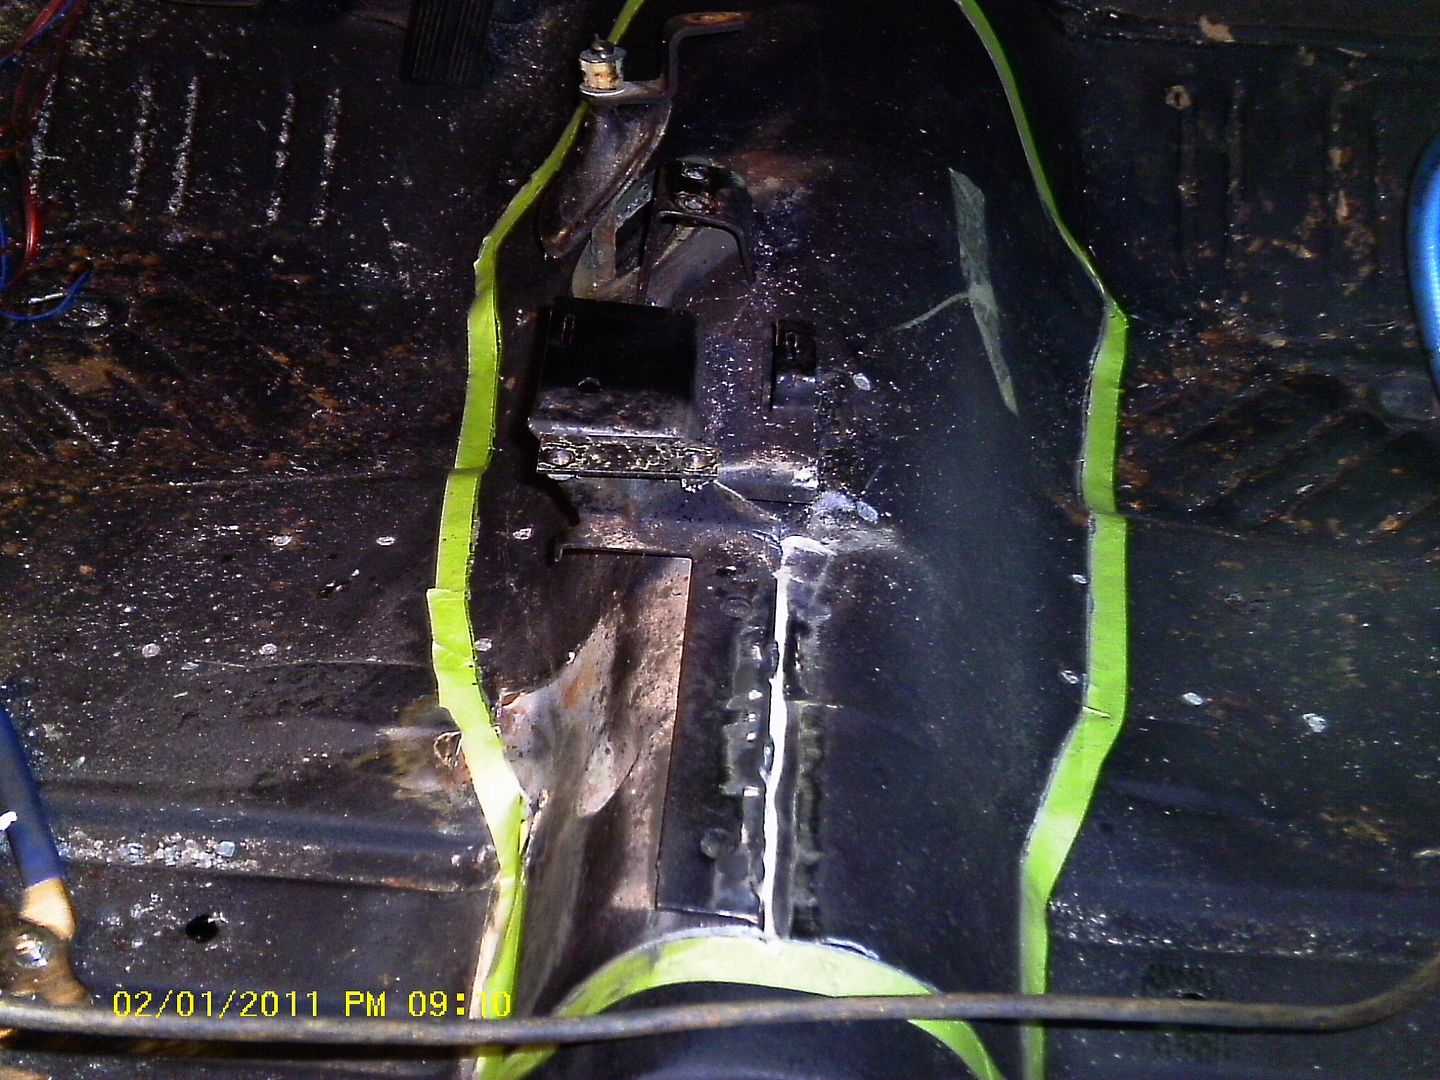
Some of you may be wondering how I came up with that shape, just use some large heavy paper, scissors and trimed out a template of the transmission. After it was cut to just slip over,I enlarged it to give me some clearance (2 inches per side). I slapped the template down over the floor ( I didn't contour it to the floor, just let it lay flat on the tunnel so the sides were air born), and using a paint marker I made reference lines on the floor to mark the corners etc. I then connected the dots with masking tape,
I used a tape measure to double check the width of the tape at points against that of the template. Notice that I didn't mark above the pinch weld of the factory pan (2" below it at the closest point, then I tapered the tape line down to the corners of the floor pan). If you are using a Quicktime bell there is no need to, thou you may have to clearance the pinch weld on the bottom slightly.

I then traced the inside of the tape with the silver paint marker and pulled up the tape.
I started cutting the floor pan with a cut off wheel. Its important not to rush this step it took me the better part of 5 hours to complete the cut. Pay extra attention when you hit the area where the cross member is I didn't want to cut thru it (yet). I just very gently worked this area back and forth till I saw cracks in the cutline.
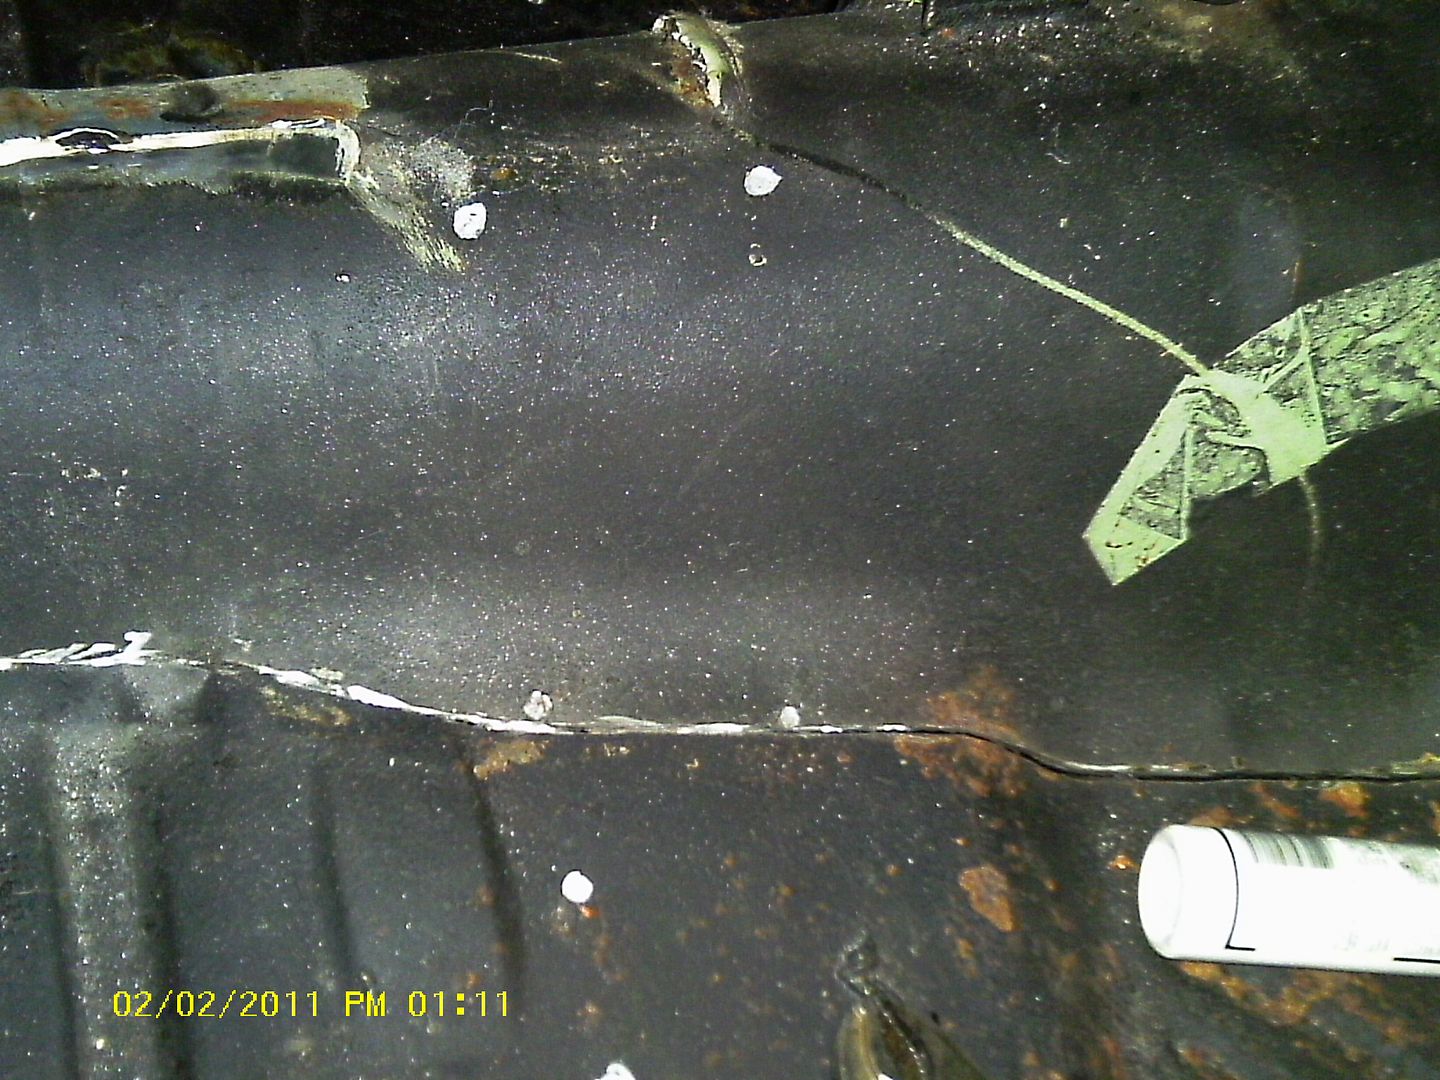
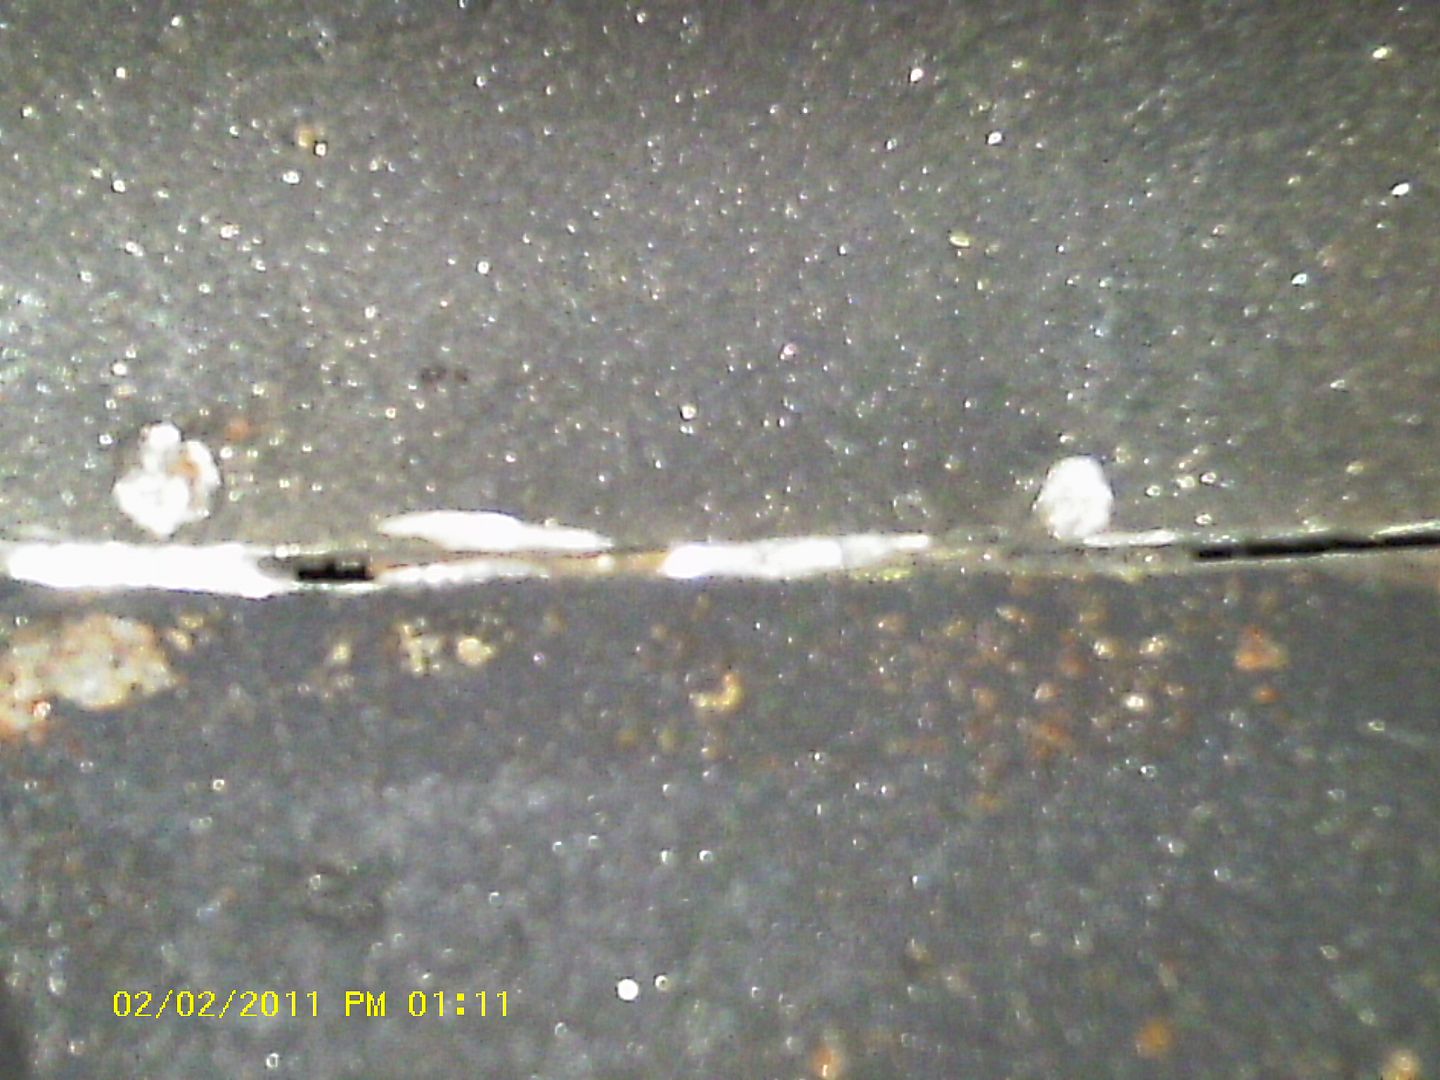
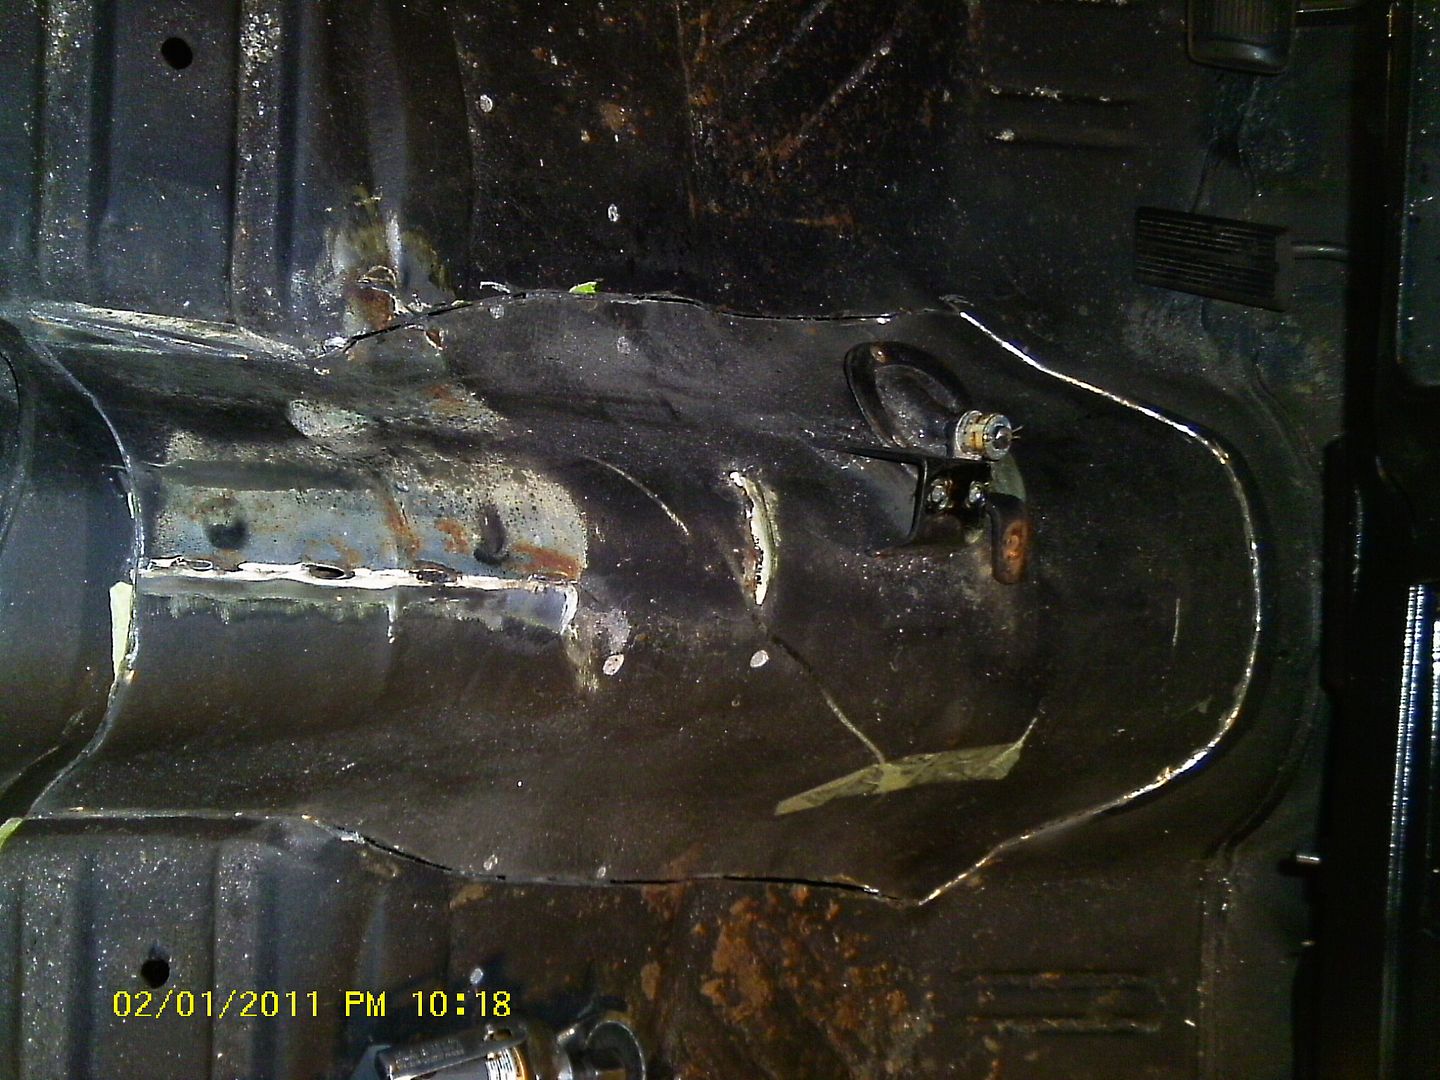
With the cut now complete all I have to do is drill out the spot welds and pop it off.
I have another project this week that needs attending to so I won't be posting again this weekend. Till then take care all.