Mopar styled Pistol-Grip shifters - there's no styled shifter more awesome!
Had wanted one since before even owning a Mopar, and now I own a Chally, it was time to take the plunge. I'd done a fair bit of searching over this and other forums trying to find the right one, as there are a couple on the market.
I decided on the
Automatic Pistol Grip Shifter offered by
RestoRick.
Reason being: It seemed the simplest. Not a big fan of the version with the trigger. Not doubting it's quality in any way - just didn't sit right with me aesthetically. Then there's the Shift-r-gate version that requires you to buy 2 different products, and remove/alter parts below the console. Might be easy enough, but me being the numpty I am, it sounded like something that I could very easily bugger up. haha. The Harms Auto version no longer appears on their site.
That left me with the RestoRick offering. Seemed simple enough. Pop off the old ball handle, pop on the new one. Exactly my kind of modification!

I dropped Rick a line questioning availability & shipping - he responded within 24 hours - I placed the order, and had it in my hands in about a week (from US to Oz).
Anyways, here's a quick rundown of how to install it. It really is a piece of piss to do and takes mere minutes - and even then it only took that long so I could stop and take photos at ever step.
I know it's basic and not really deserving of its own thread, but I'm sure there's some out there contemplating the same mod, and still not 100% of what really needs to be done.
What you get in the kit: Shifter Handle, washer, spring, spacer, screw (Allen-key head - Allen-key not included) + a spring that can be used to replace the stock shifter spring if needed (which I didn't).
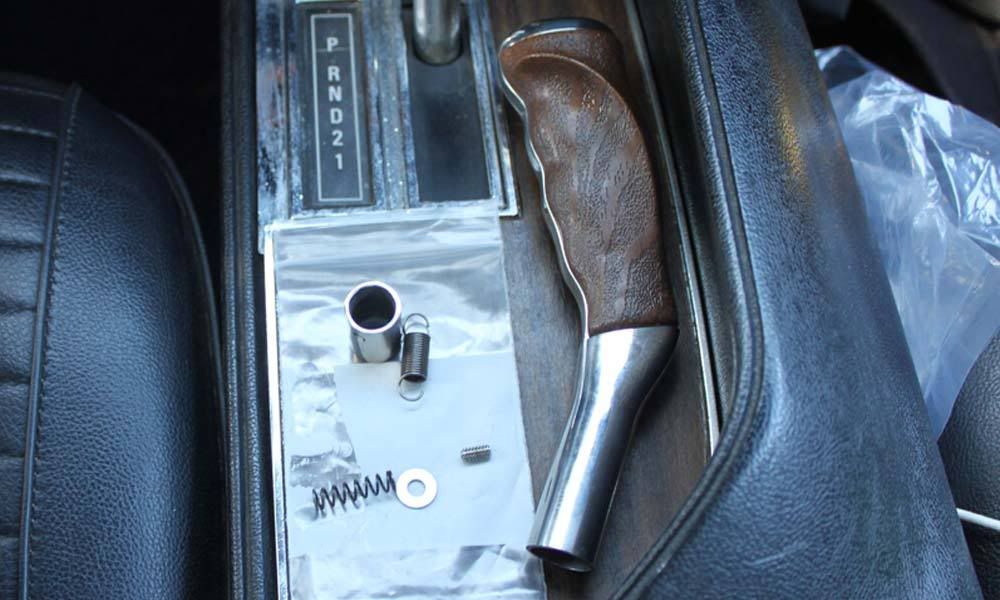 Step 1:
 Use Allan-key and unscrew retaining screw. Unscrew knob, also removing spring and button.
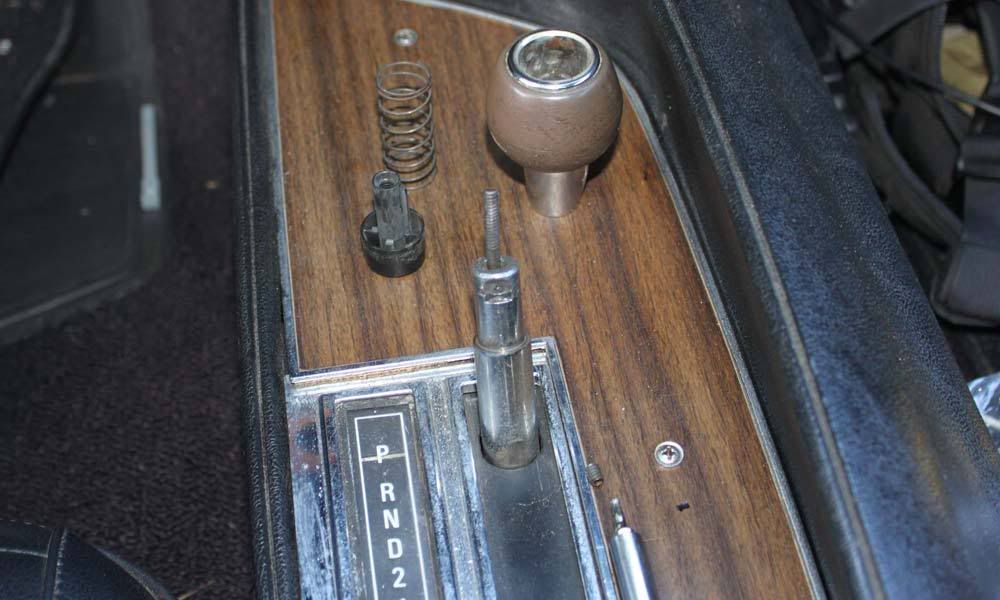 Step 2:
 Place washer, then spring, over shifter thread.
Washer stops the spring falling in between the shifter handle & threaded prong.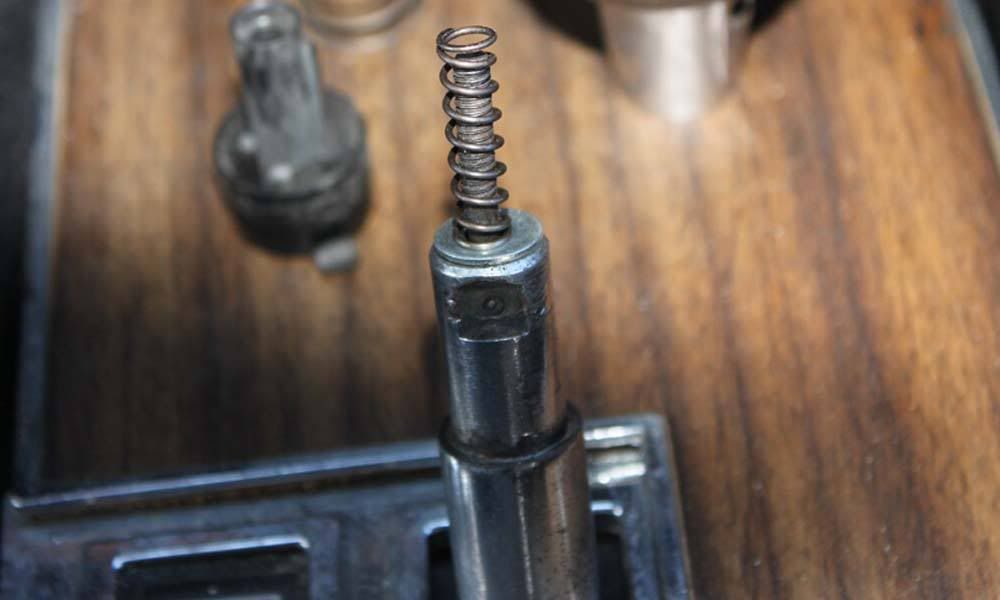 Step 3:
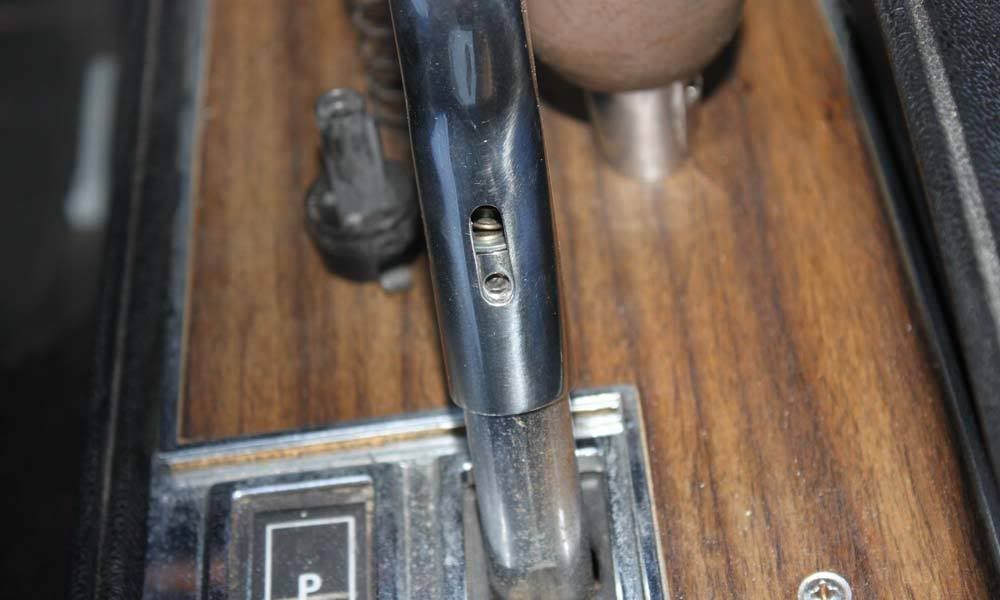
 Place spacer/handle extension over spring, ensuring screw --hole lines up with previous screw alignment.
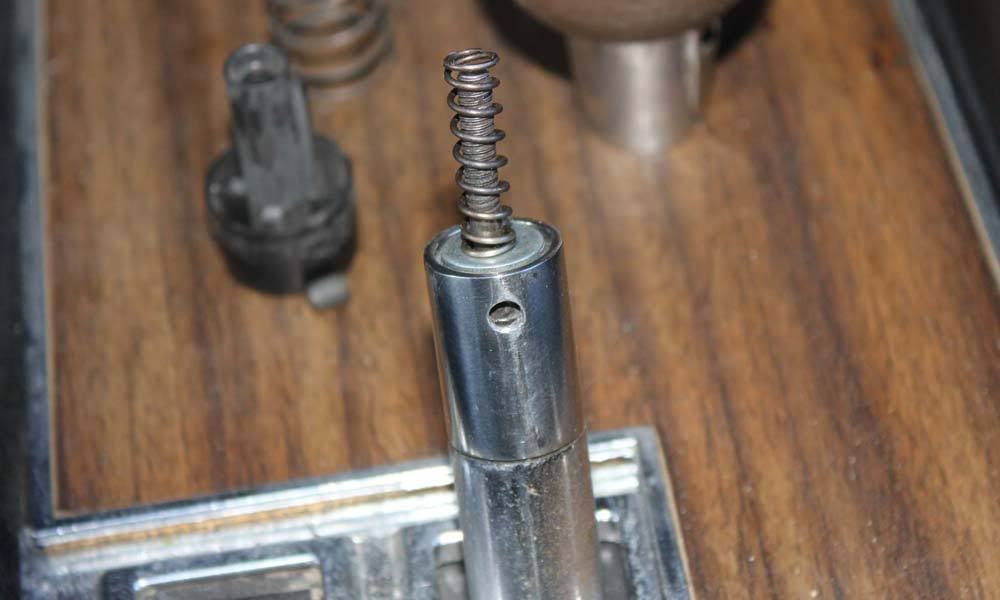 Step 4:
 Slide on Pistol-Grip shifter, aligning run with threaded hole in spacer. No need to force it up or down. Let it sit naturally.
 Step 5:
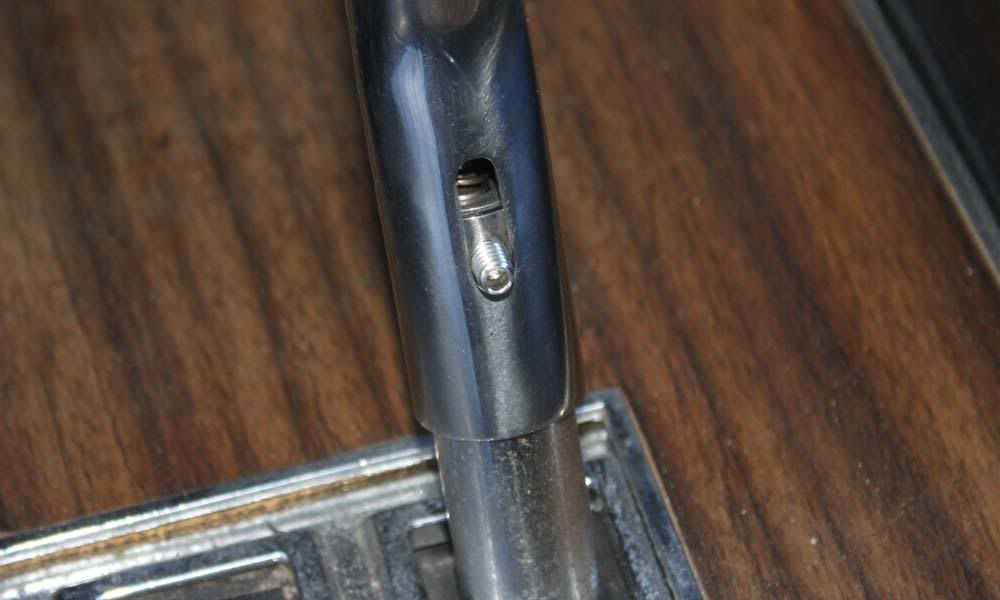
 Screw in screw. Screw play a few roles
1) stops spacer/extension from moving.
2) Stops handle from swiveling.
3) Aligns handle properly ensuring a straight up & down.
 Step 6:
 Admire the awesomeness, and pretend you have a 4-speed and shift until your hearts content!
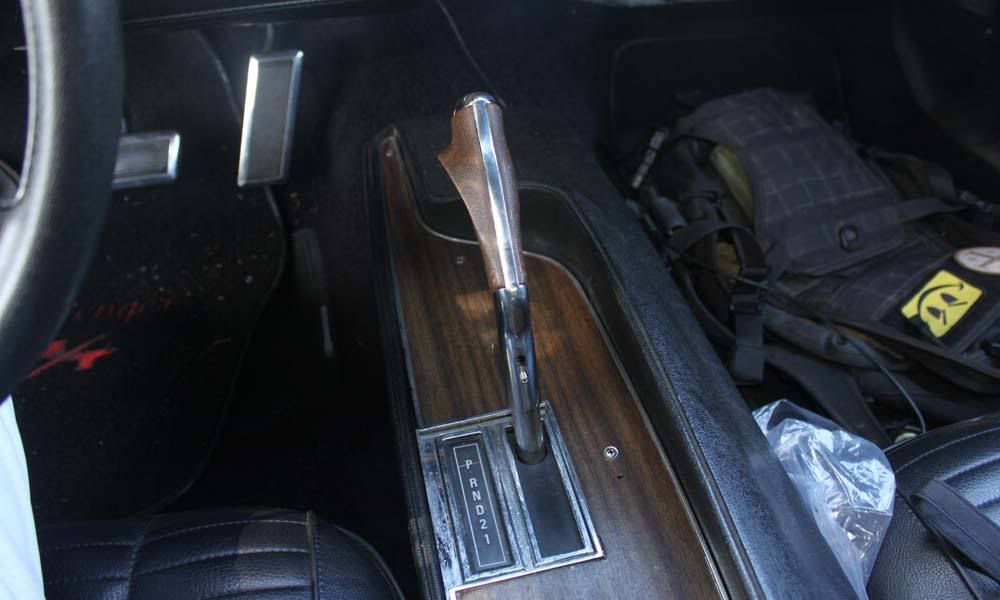
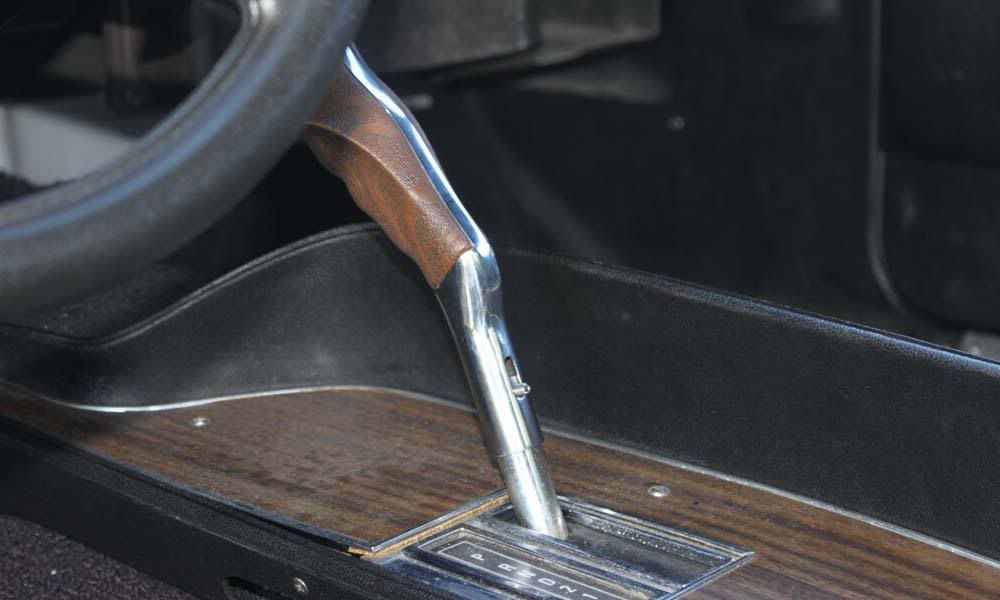
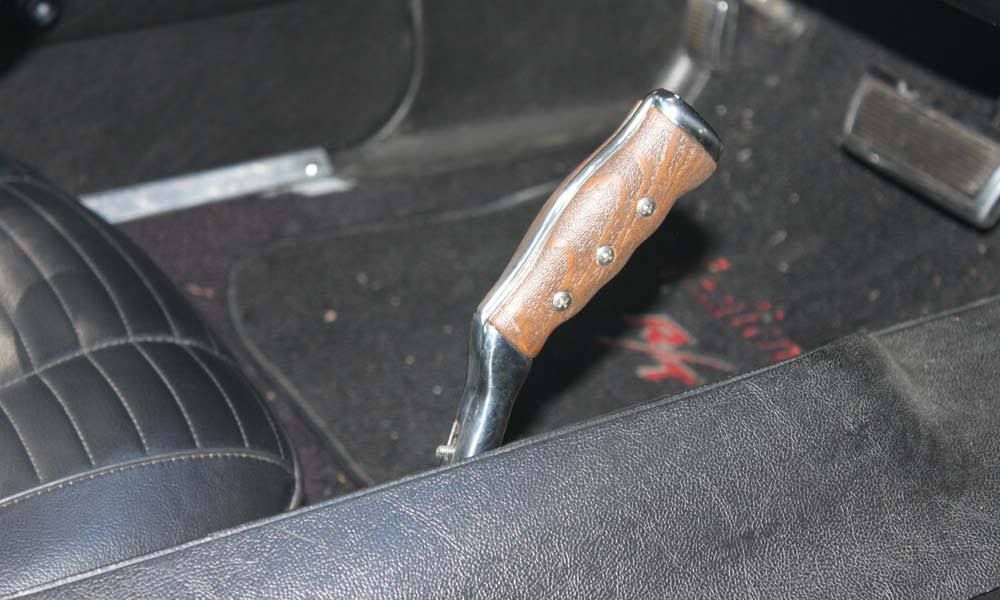
Now
that looks like a Challenger!
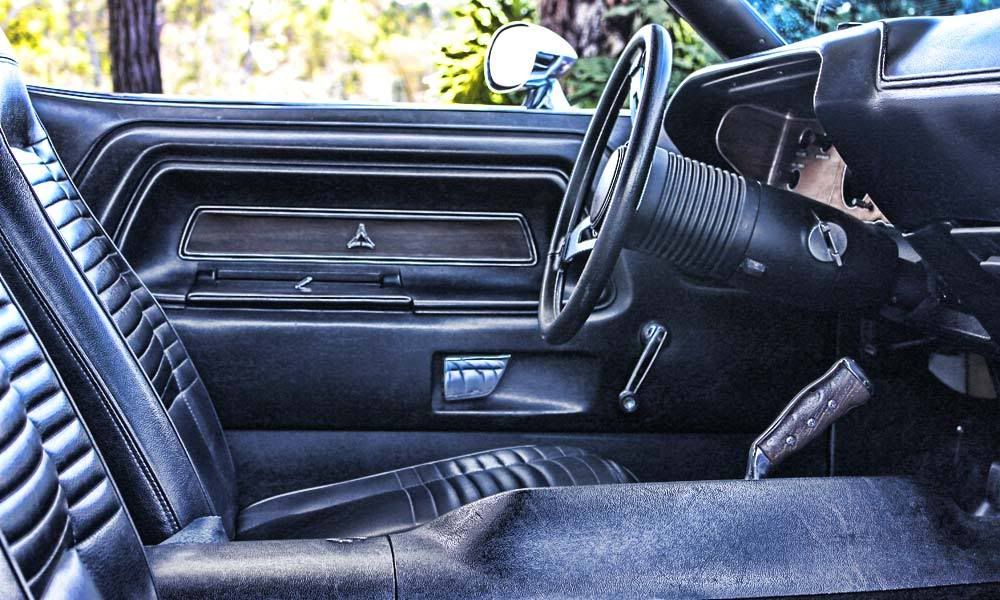
Oh, and your original parts fit inside the zip-lock that RestoRick's parts came in, so you don't lose them.
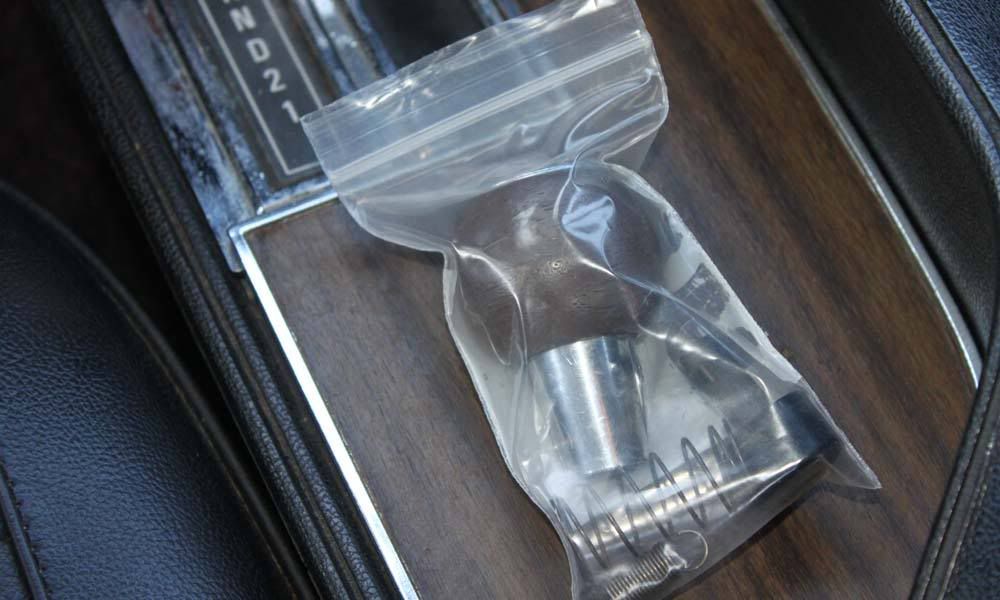
OK, OK, OK ... I know that was stupid-easy - but with most threads on the subject being a few years old, with missing photo's, and very few specific/clarified comments/how-to's - I thought I'd make it easy for those in a similar pickle.
The quality of the shifter feels phenomenal. Nice heavy weight - no cheap junk here. Rock solid feel to it.
As for how it functions. It uses the exact same mechanic as you standard ball shifter (1970 Challenger). Slap method still works were applicable, and for the rest, simply push down on it slightly, and move. Easy, simple, and no need to reprogram your muscle memory to shift. I'll get some video of it when I get a spare minute.
Easy peasy!
