Okay... here is the first part of the write-up... I'll keep adding more as I get it done. Hope it helps someone...
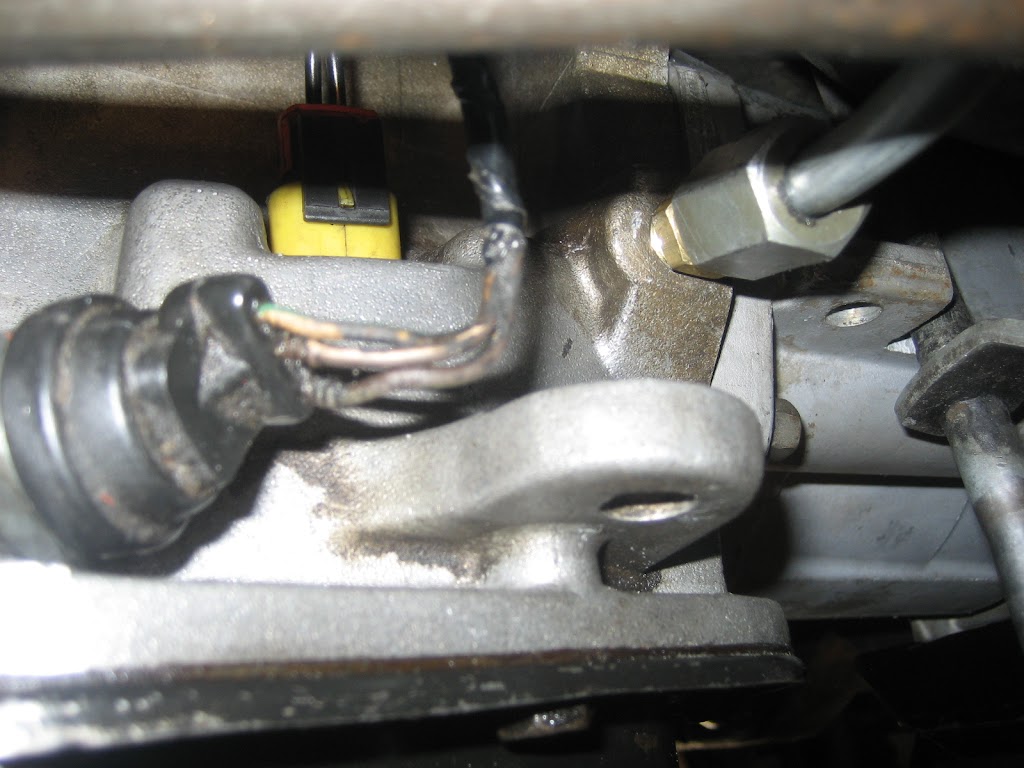
Wiring the beastNote 1: My tranny is the non-lockup version and has a two pin OD socket. Later units will have a three pin socket to wire up. There are two pins in the yellow socket

Note 2: Im using a manual toggle switch to control the OD unit. I decided to wait on trying to use pressure switches. So far Im really happy with this setup.
You need to find a two pin plug to fit the socket on your transmission. I found them at pick-a-part on 1990s (maybe newer?) jeeps and dodge trucks. They are used to plug in fog lights and other electrical at the front of the truck. Get as much length of the wire as possible and cut it. I bought two for a $1 each!
To control the OD unit you need an ignition switched source which runs to the positive side of the OD plug. Luckily you have one about 6 inches away in the center wire of the three wire neutral safety switch. Splice into that middle wire and run it to the positive side of the plug.

On my car it was really easy to unplug the neutral safety switch and unplug the other end at a socket sitting a few feet away up along the body toward the engine bay. I took the wiring assembly inside and worked on it there. Be sure to splice far enough away from the plug to give yourself room to fix errors. Its best to solder these splices.

The negative side of the plug should be extended to run the length of the wire assembly and terminate at the same place the rest of the assembly terminates. Crimp on a connector at that point.

The ground wire will ultimately run to a ground to complete the circuit. This length of ground wire will be where you put the switch. When the switch is on, you have a circuit running to ground which allows the positive wire to feed power to the OD unit.
Both plugs in place
I ran about 5 feet of wire from the ground wire connector (the assembly you spliced into) up through the firewall at a point near the parking brake and fished it under the carpet toward the console. The console is easy to remove (3-4 screws) revealing a spot directly in front of the shifter where the wire can be fished up along the front of the shifter rod that supports the T-handle. If you bring the wire thru the side of the shifter it will get caught up in the mechanism, not allow you to put the shifter all the way in park and damage the wire (doh!).
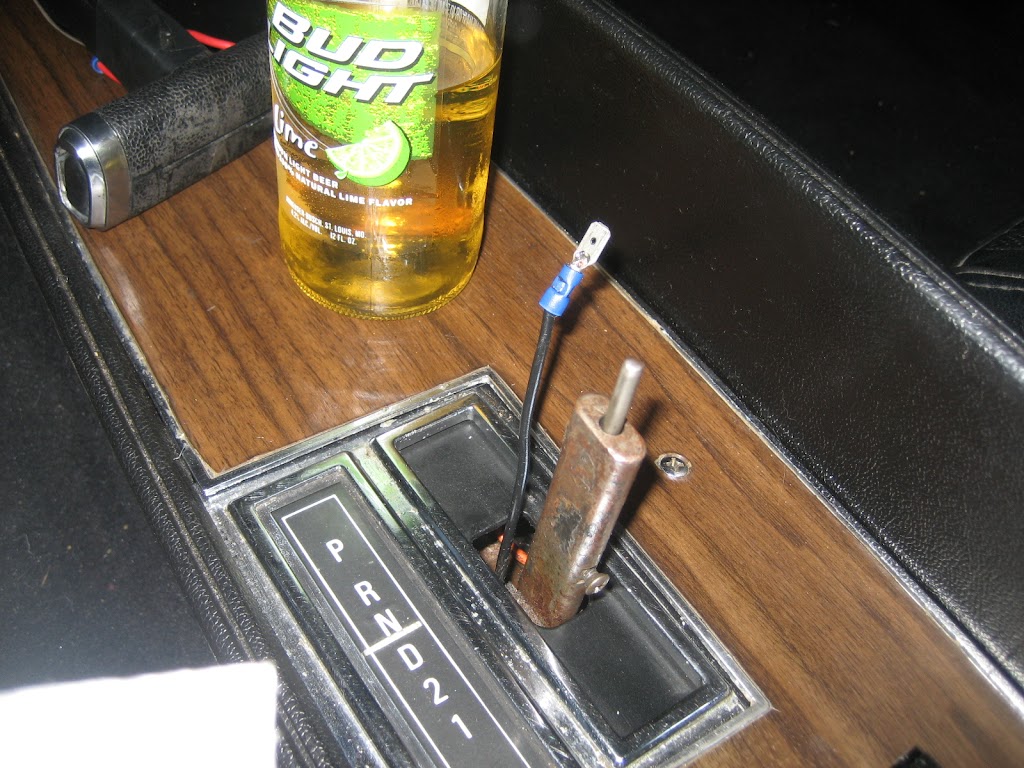
The idea is to have this wire connect to a switch on the T-handle and from the switch the wire will terminate to ground connected to the screw that attaches the T-handle to the shifter. (I did need to find a slightly longer screw
) The dang thing works too!
I set it up so I could disconnect the T-Handle wires using simple connectors. Some day Ill solder these for a cleaner look. I used 16 gauge wire for this
ended up using red wire when I should have run black, etc. just because
Shifter (T-Handle modification)Take your T-handle off the car and take it apart. Mine was practically falling apart anyway so this way easy.
The Radio Shack mini toggle fits a space in the right front of the handle without having to widen anything inside. Find a drill bit that fits (Radio Shack says ¼ hole) and carefully make a hole out the front of the handle. The switch should stick out through the hole enough to thread the included nut on to hold the switch in place. Mine would only do so if the switch was up one way vs. the other
just turned it over.
SPST High-Current Mini Toggle Switch Model: 275-324 $ 3.19
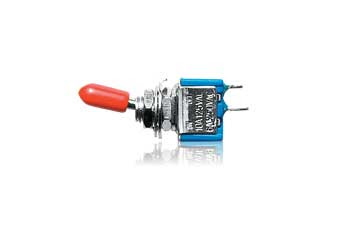

The switch sits between my right pinky and the next finger in and toggles left/in (on) to right/out (off). Not up or down, which would be odd.
Once that is set, remove the switch and solder a short piece of wire to each terminal on the switch. You might want to carefully bend the terminals on the switch away from each other to give a little room for soldering. One of these wires will connect to the screw at the base of the handle (crimp on a round connector) so give it only that much length, The other will connect to the wire coming up from the front of the shifter. (see previous section on wiring).
You will need to open up a small gap at the bottom seam of the T-handle to make room for the two wires to exit the handle. I made the hole in the back half piece of the handle because the wires would exit there more easily. People have mentioned that using ribbon cable would be better for this
maybe next time.

I did not solder the connections as I wasnt sure it was going to work. Once it was all working I simply wrapped the T-handle in electrical tape. Someday Ill come back and clean this up and wrap the handle in leather, etc.
Ugly - yes

Wrapped to hide the ugly
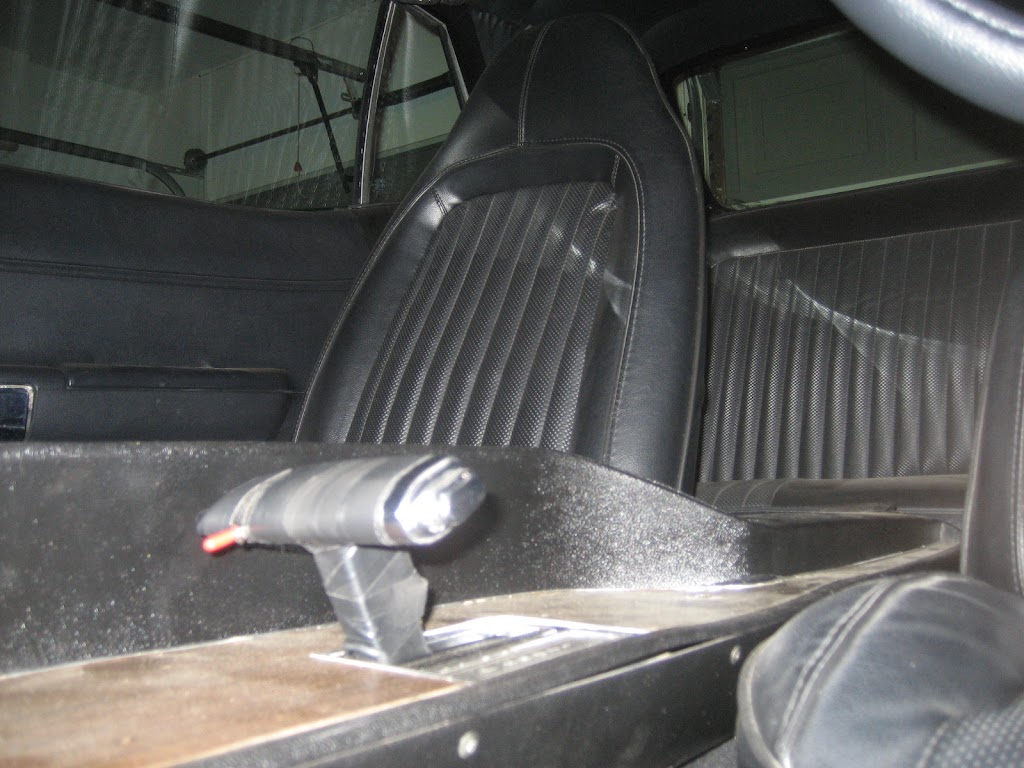

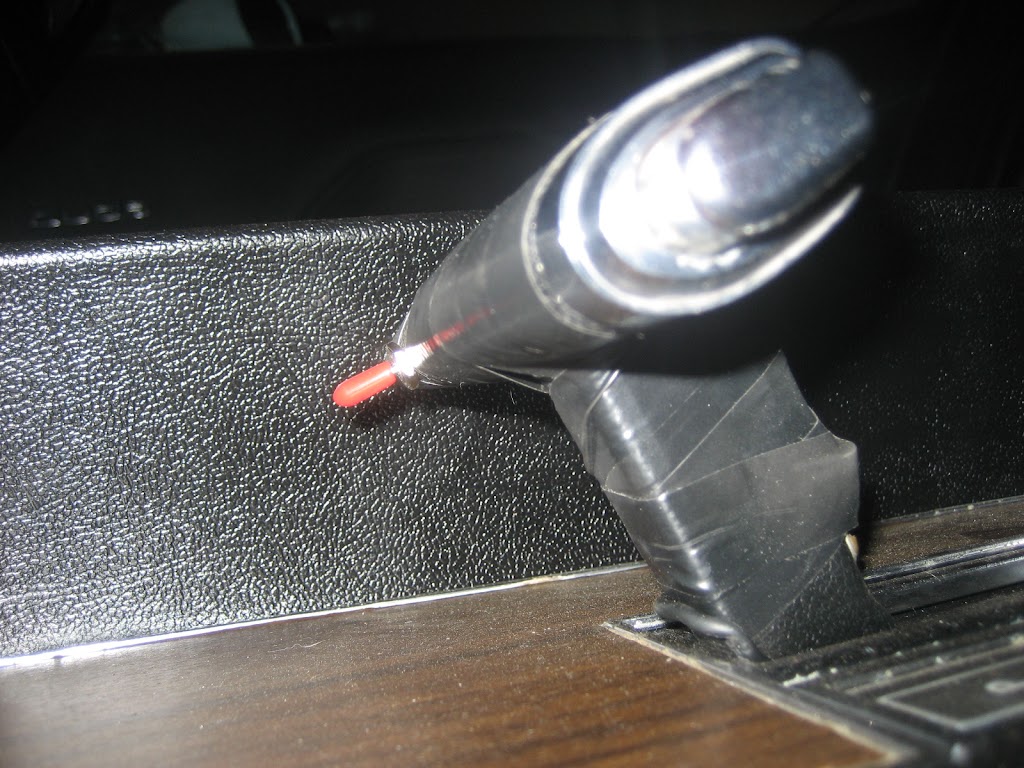
This switch has worked better that I ever dreamed so far. It is easy to use but small enough most people dont see it and it really fits my hand well. Pretty cool for a cost of $4.